T-shirt DTF printing Whole Process Showcase | A4 DTF Printer

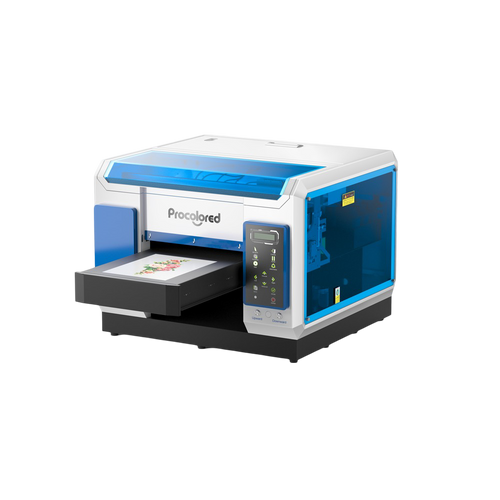
Open the cover of the printer outlet. Before putting A4 film sheets into the paper tray, make sure the printable surface is facing up. The printable side of the film sheet is covered with a layer of chemical coating and it feels smoother. Adjust the paper tray extender to better support the film sheet. The printer will pick up film sheet on it own, so don’t insert the film sheet deeper into the paper path.
Start printing in RIP software, it will transcript the image into a specific file that can communicate with the printer. Pay attention that the size of the printed image should be slightly smaller than the size of A4, that is 21 centimeters in width and 29.7 centimeters in length. Although this A4 DTF printer adopts single print-head, it makes up a quite effective printing speed.

After the printing is finished, take out the film sheet from the printer outlet. The next step is to cover the print in wet condition with adhesive powder. Don’t touch the wet print because the inks on the film sheet would be messed up.
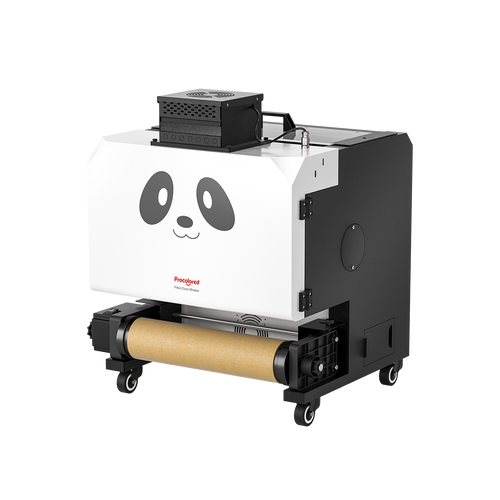
Spread the adhesive powder evenly on the print. Make sure every corner of the print is covered with adhesive. When the powder is melt, inks will gradually dry out and stand firmly on the adhesive layer. Compared with DTG printing, the most meaningful advantage of DTF printing is that the colors can remain high saturation.


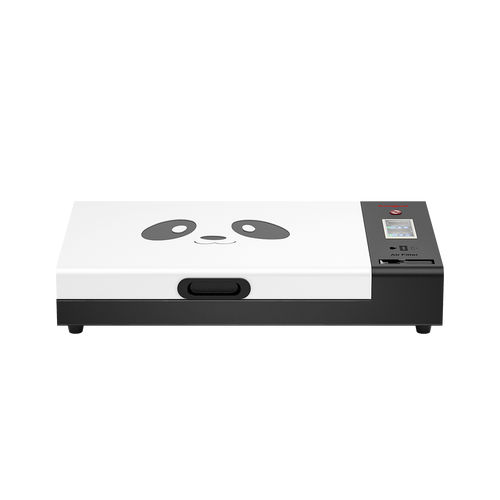
Set the temperature of the curing oven to 130℃ and time to 180 seconds. Before put the powdered prints into the oven, check whether the temperature is ready. In the curing oven, adhesive powder will melt down and the moisture of the inks will dry up. The moisture of the inks is oily and unhealthy. There is a air filter at the left top corner of the over to filter out the moisture. Wearing a KN95 mask when you are running a large scale of t-shirt printing.

When the time’s up, open the cover of the oven. Be cautioned of the heat. Use a suction cup to bring the film sheet out of the heating panel. The prints we are going to put on shirt includes neck label, arm patch, left chest pattern and full back pattern. Cut the film sheet into pieces to separate all the print parts. We are going to heat press these prints onto different positions of the shirt.

This is a compact cap heat press with temperature controller and timer. It can also be used to heat press garment at small positions like sleeve, collar and neck. The size of the press plate is limited, so cut the extra leftover film off the print Align the print with the neck label position. Hit the start button of the cap press, the heating plate will automatically go down and apply some pressure on the print. Set the temperature to 145℃ and timer to 45 seconds. When the time is up, the heat plate will lift up automatically.

Go on to heat press the arm patch. Make sure the press position is flat before put the print piece on it. Press the start button, the cap heat press will automatically finish the job. It takes some time before the print cools down and stick firmly on the shirt, we keep going to heat press the left chest and the full back and wait the film sheets to cool down before pealing them off. Along with the operation of heat pressing, the film sheets of the print pieces previously pressed will be ready to be pealed off. Iron the left chest flat with a compact heat press. We don’t need to apply extra pressure on the handheld heat press, its own weigh is enough for the pressure onto the pressed print.

To heat press the back, we need to insert the heat press cushion inside the shirt to prevent heating the front print. The handheld heat press is a perfect tool to icon clothes and its size is suitable for A4 print. If the print you designed is much larger, you can heat press its 4 corners separately. The T-shirt heat press job is finished now, you can start your own t-shirt business follow this guide.
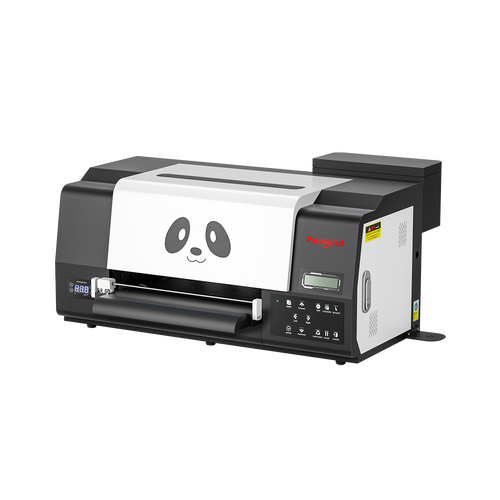
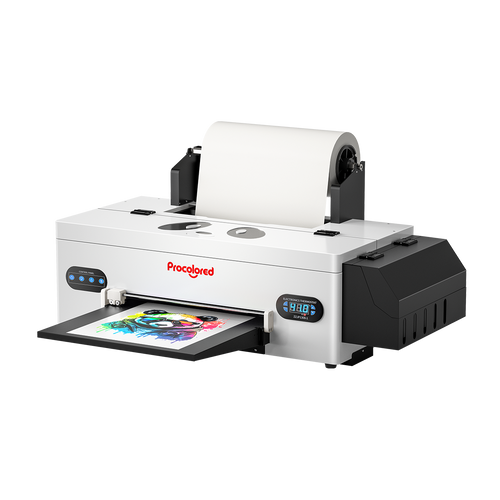
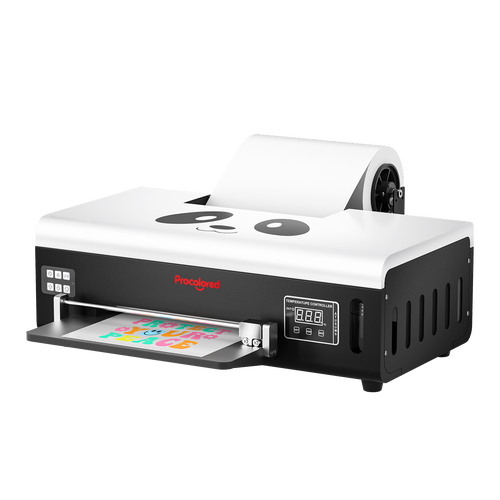
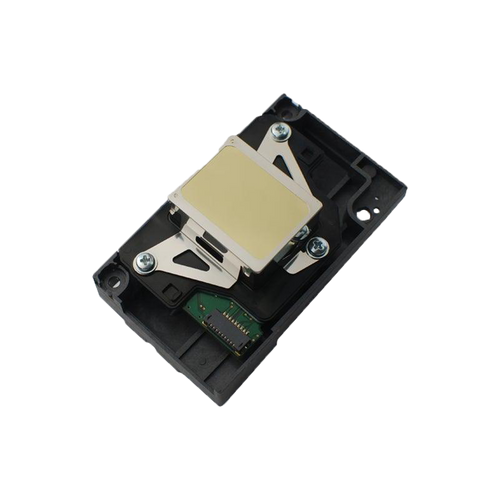
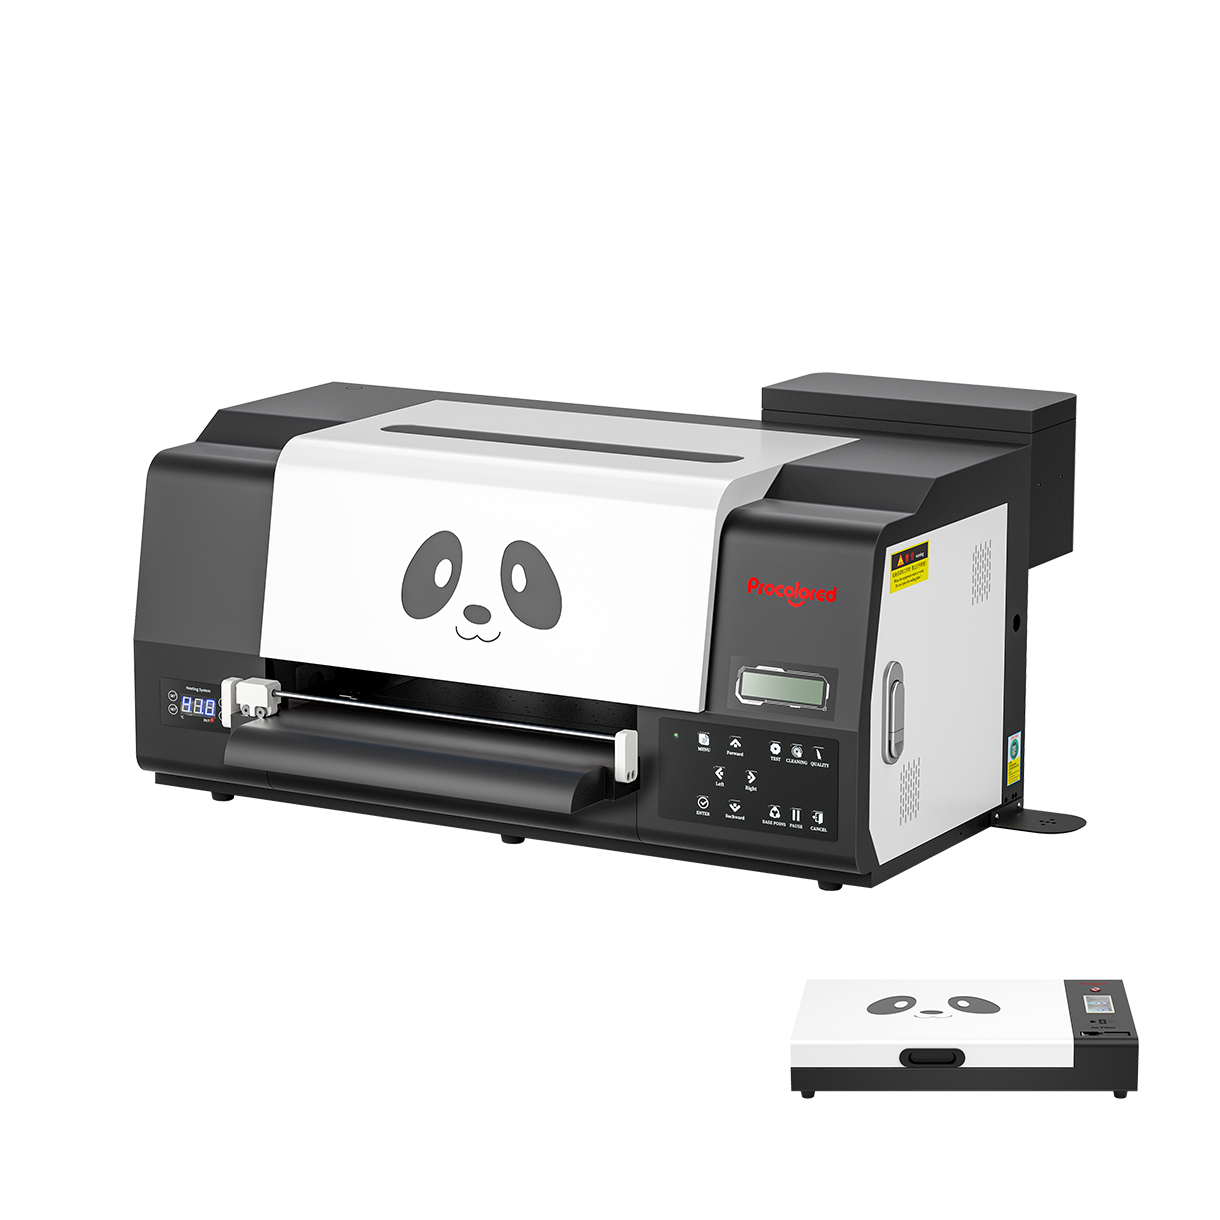
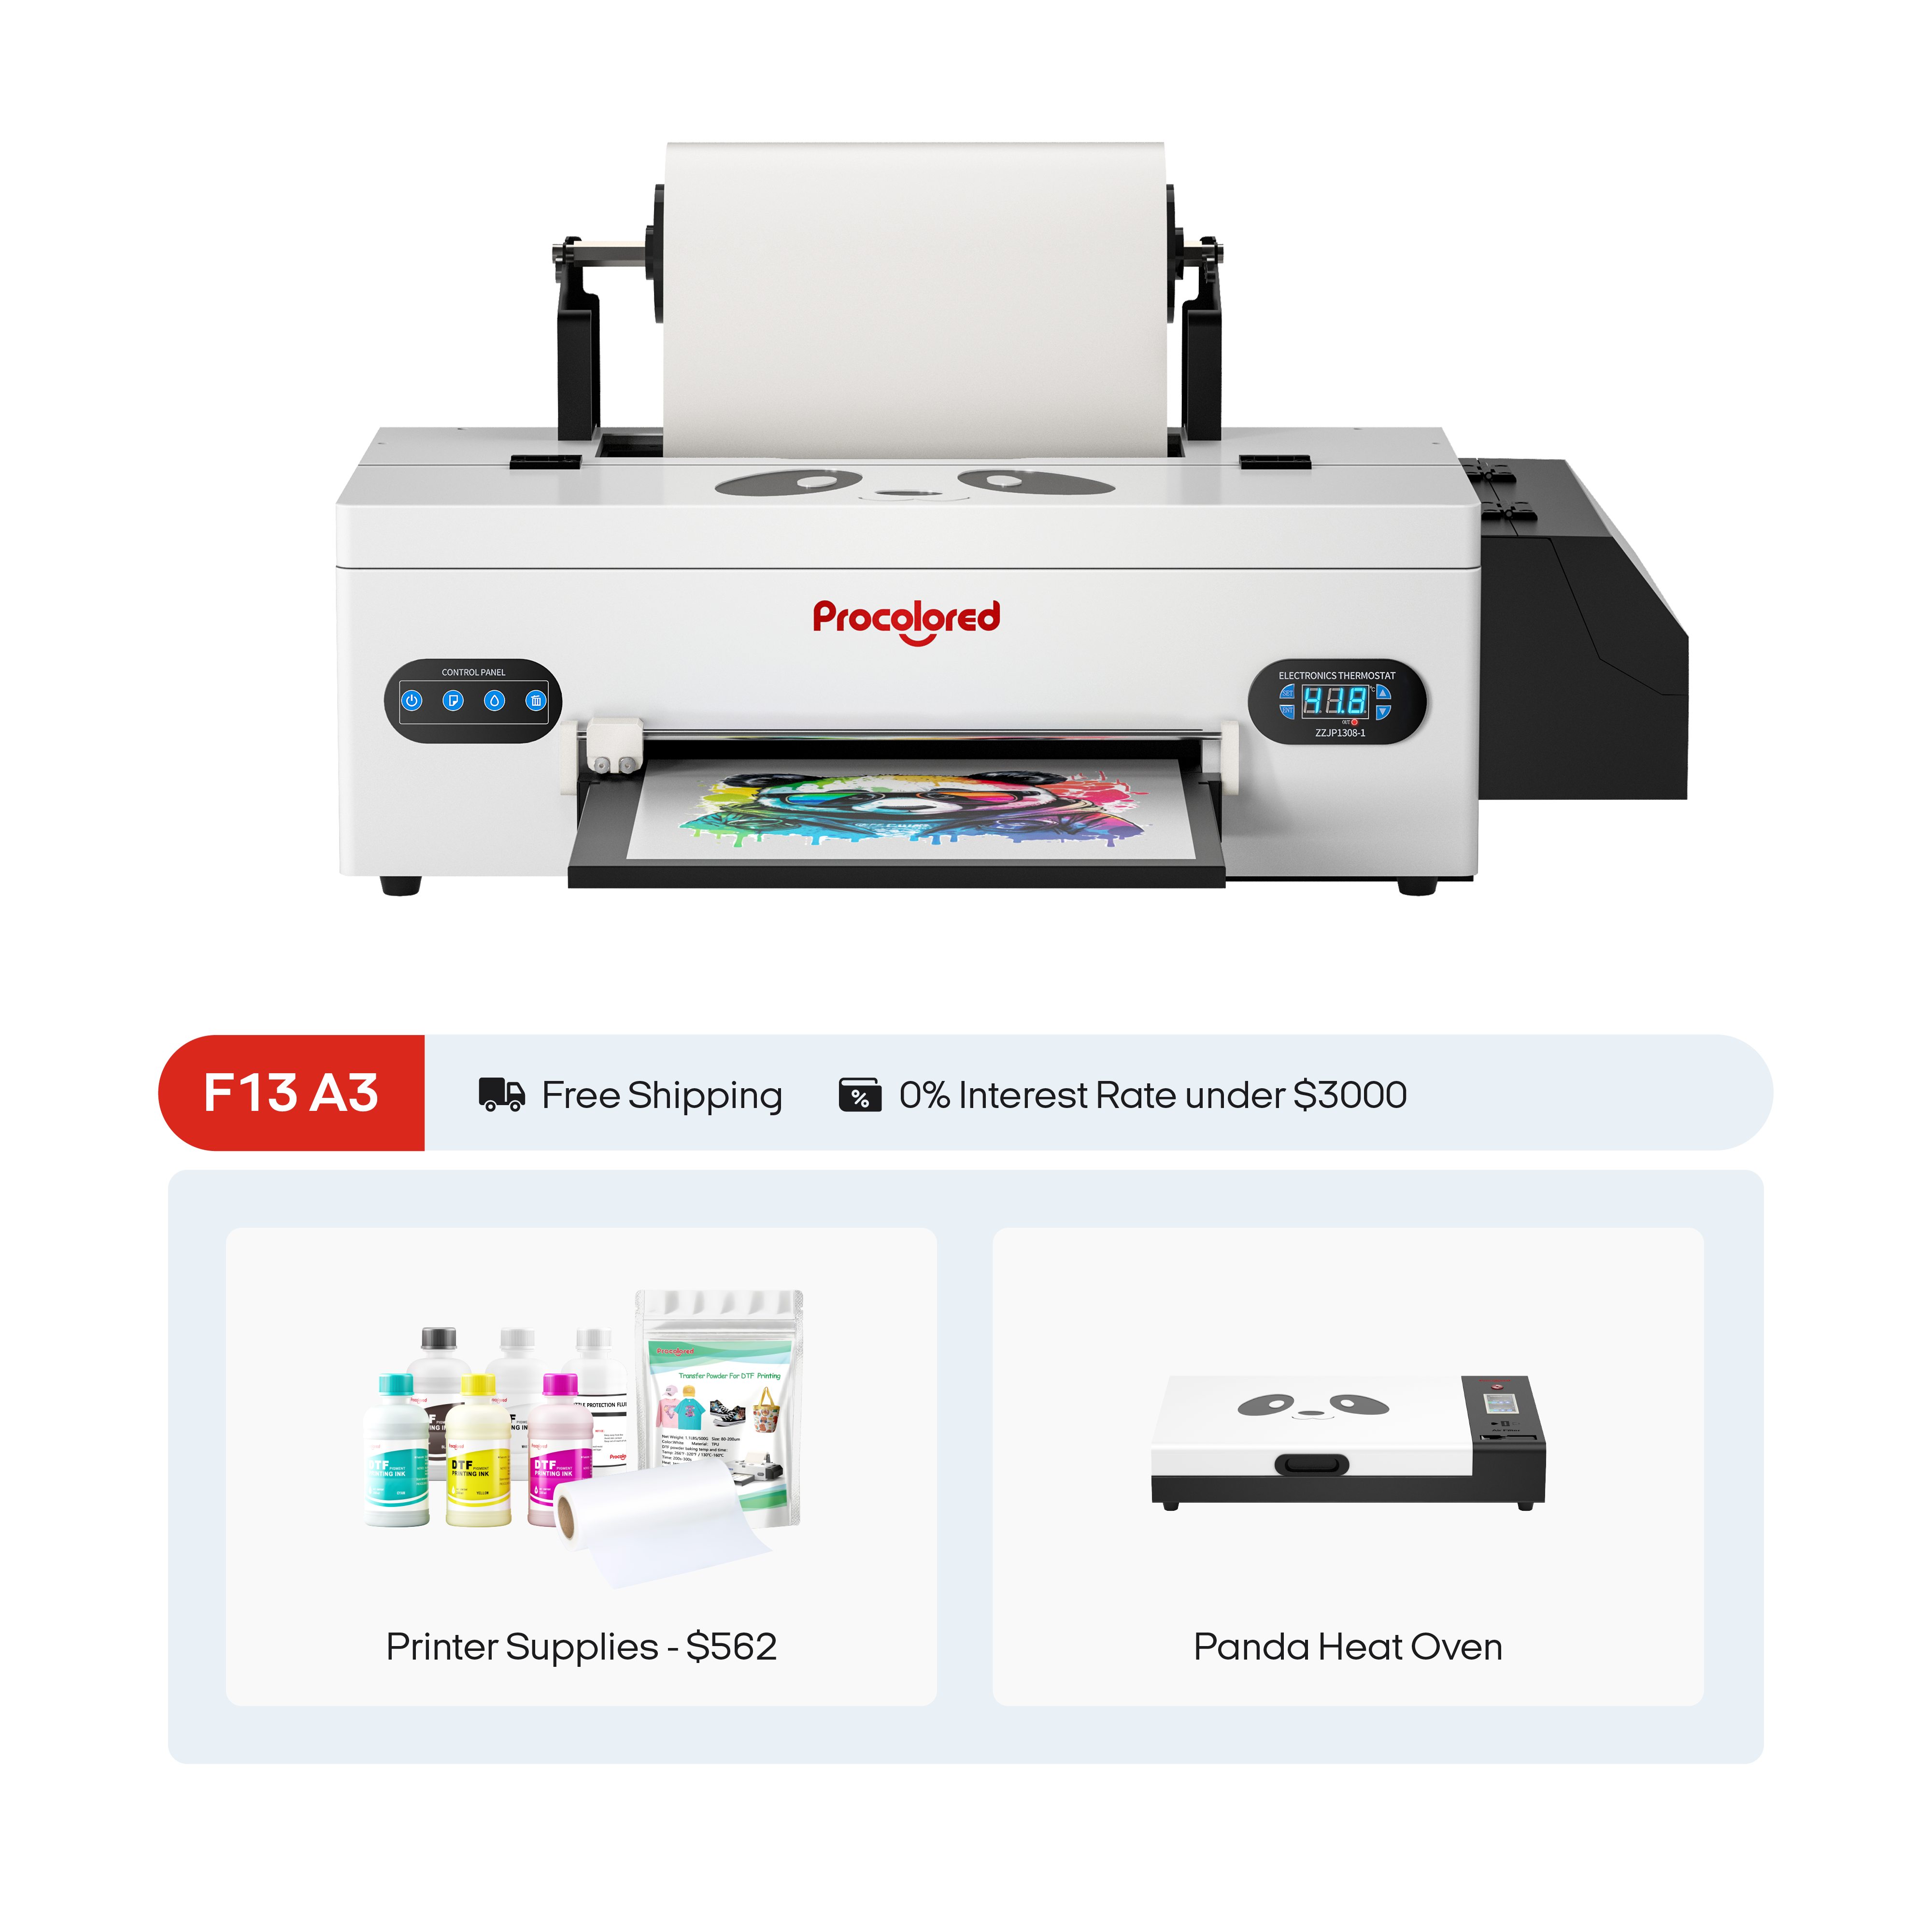
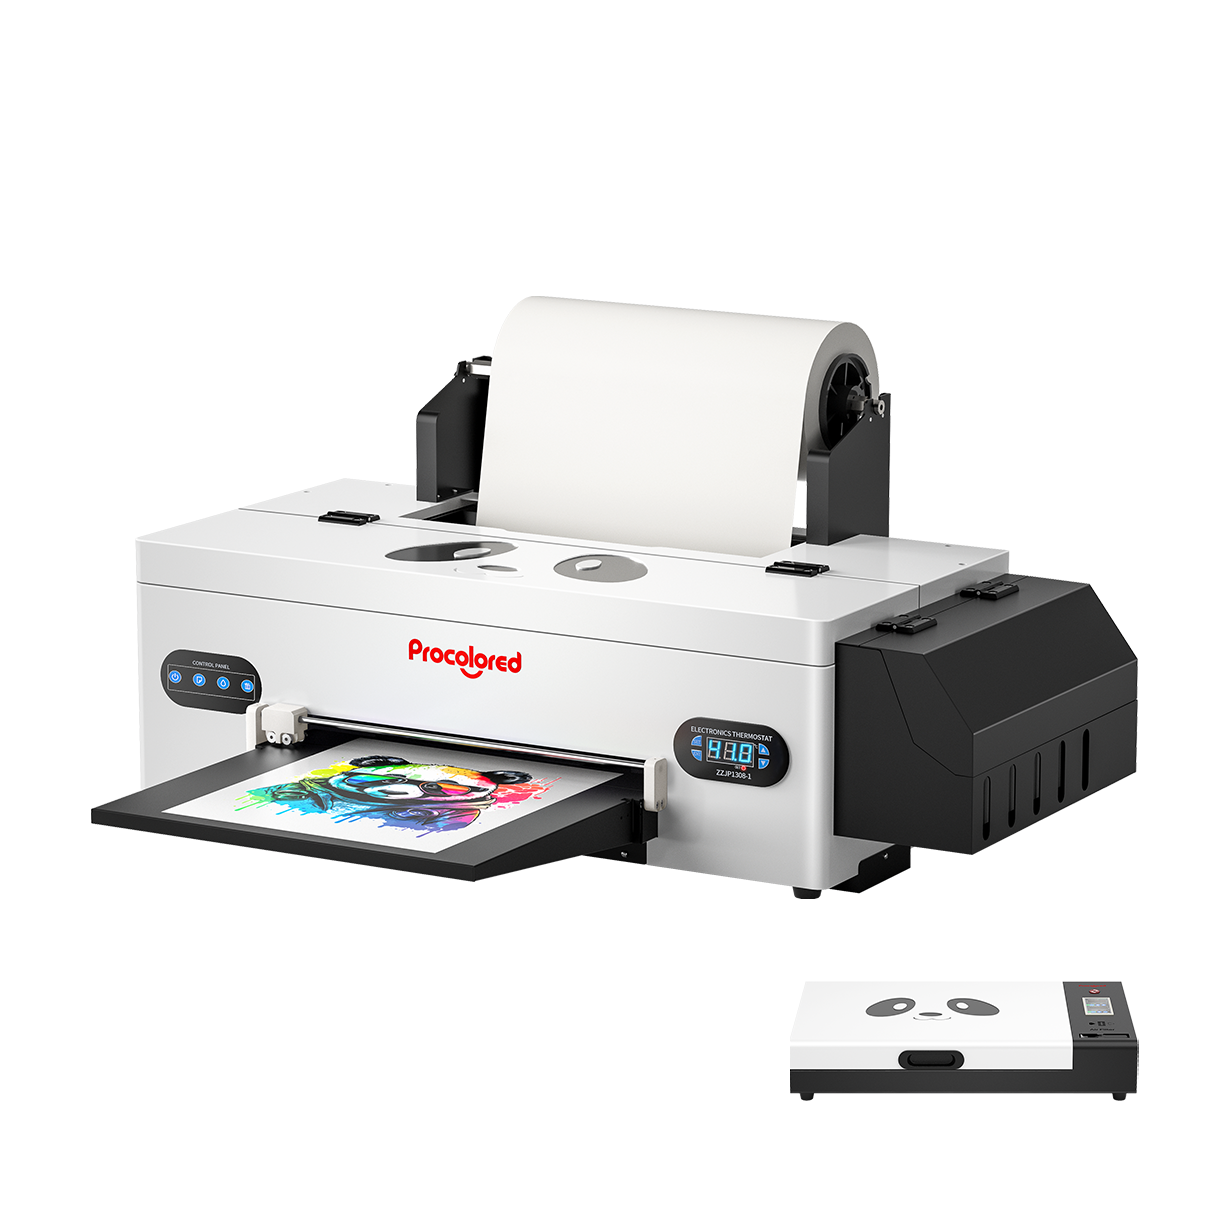
The devices we are using to showcase the T-shirt printing is an A4 DTF printer bundle, including an A4 printer, a handheld heat press and an adhesive powder curing oven. It is an ideal option for startups of T-shirt business in small scale. The A4 printer comes with a L805 print-head which is capable of high-speed and premium-quality printing. In actual practice, it prints faster than an ordinary A3 printer. And its inbuilt ink circulation system is helpful for preventing ink clog. The circulation system will start from time to time, which effectively extend the lifetime of the print-head.

