3 Kinds of Adhesive Powder for DTF Transfer
As a small business runner, it’s time to get prepared for the Back-to-School season in August. There are various activities and preparations in back-to-school season, students and teachers will gear up for the new school year begins. In this period of time, websites and offline stores will offer special promotions on school-related items. It is often a peak time for retail sales.
A DTF printer can create many iron-on prints to customize some school items, such as caps, uniforms, T-shirts, canvas bags and schoolbags. We can download some fun patterns or inspirational quotes from image websites and print them out for decoration. It is a quick turnaround to start a business of Back-to-School printing. We can print garments quickly and fulfill school orders promptly even for events or special occasions.
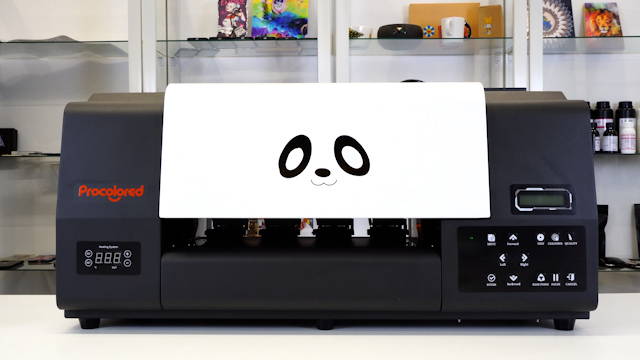
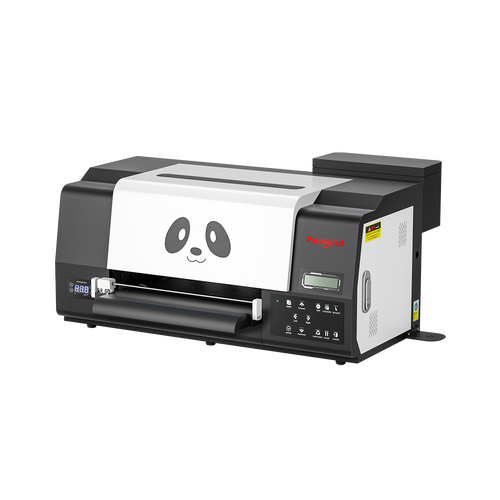
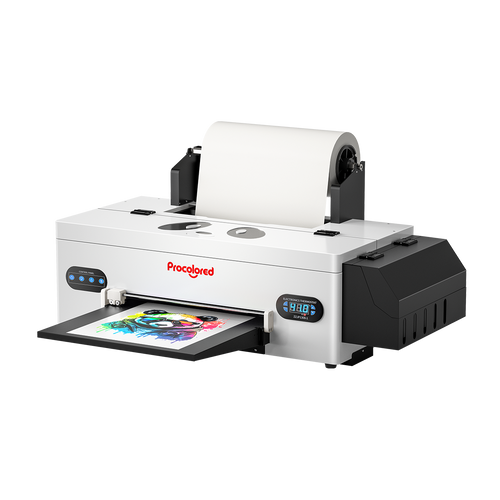
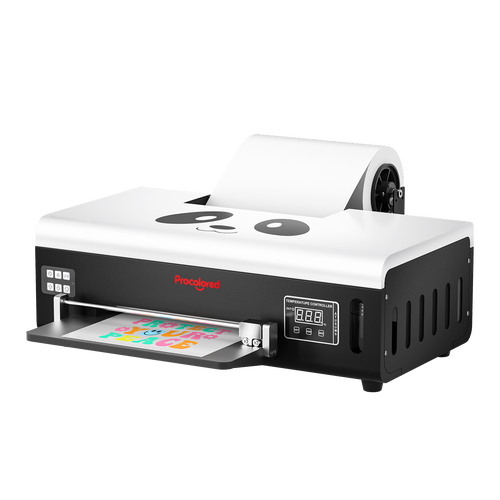
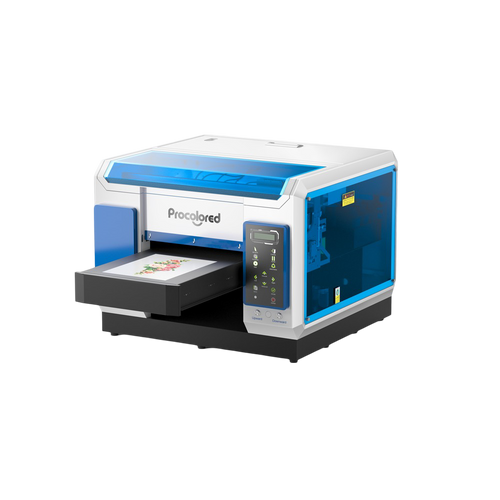
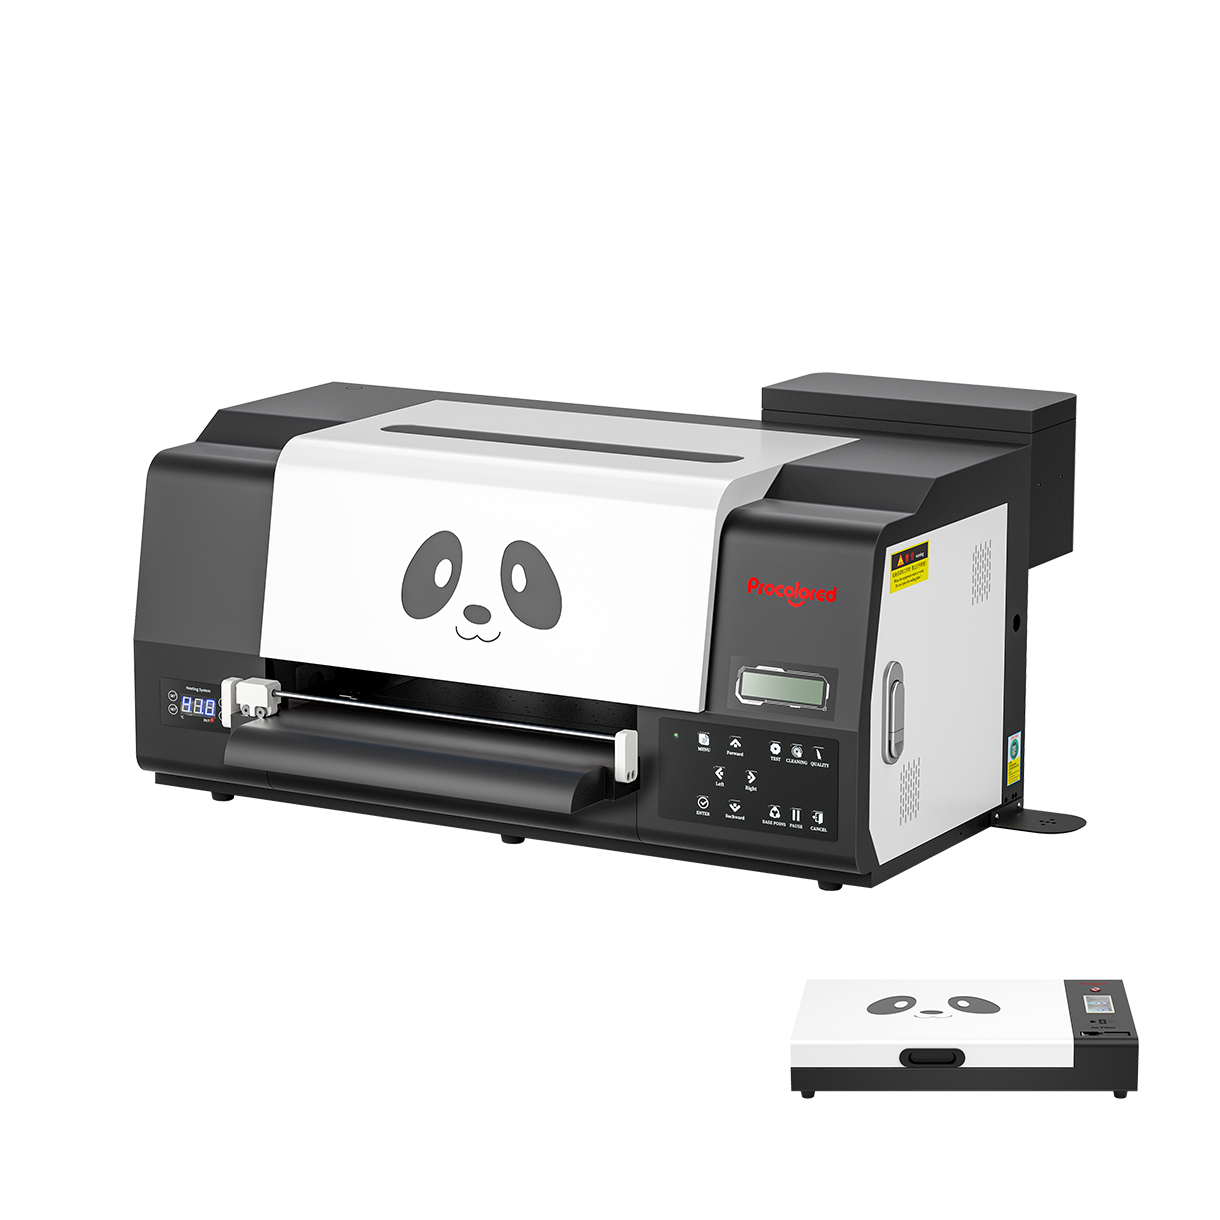
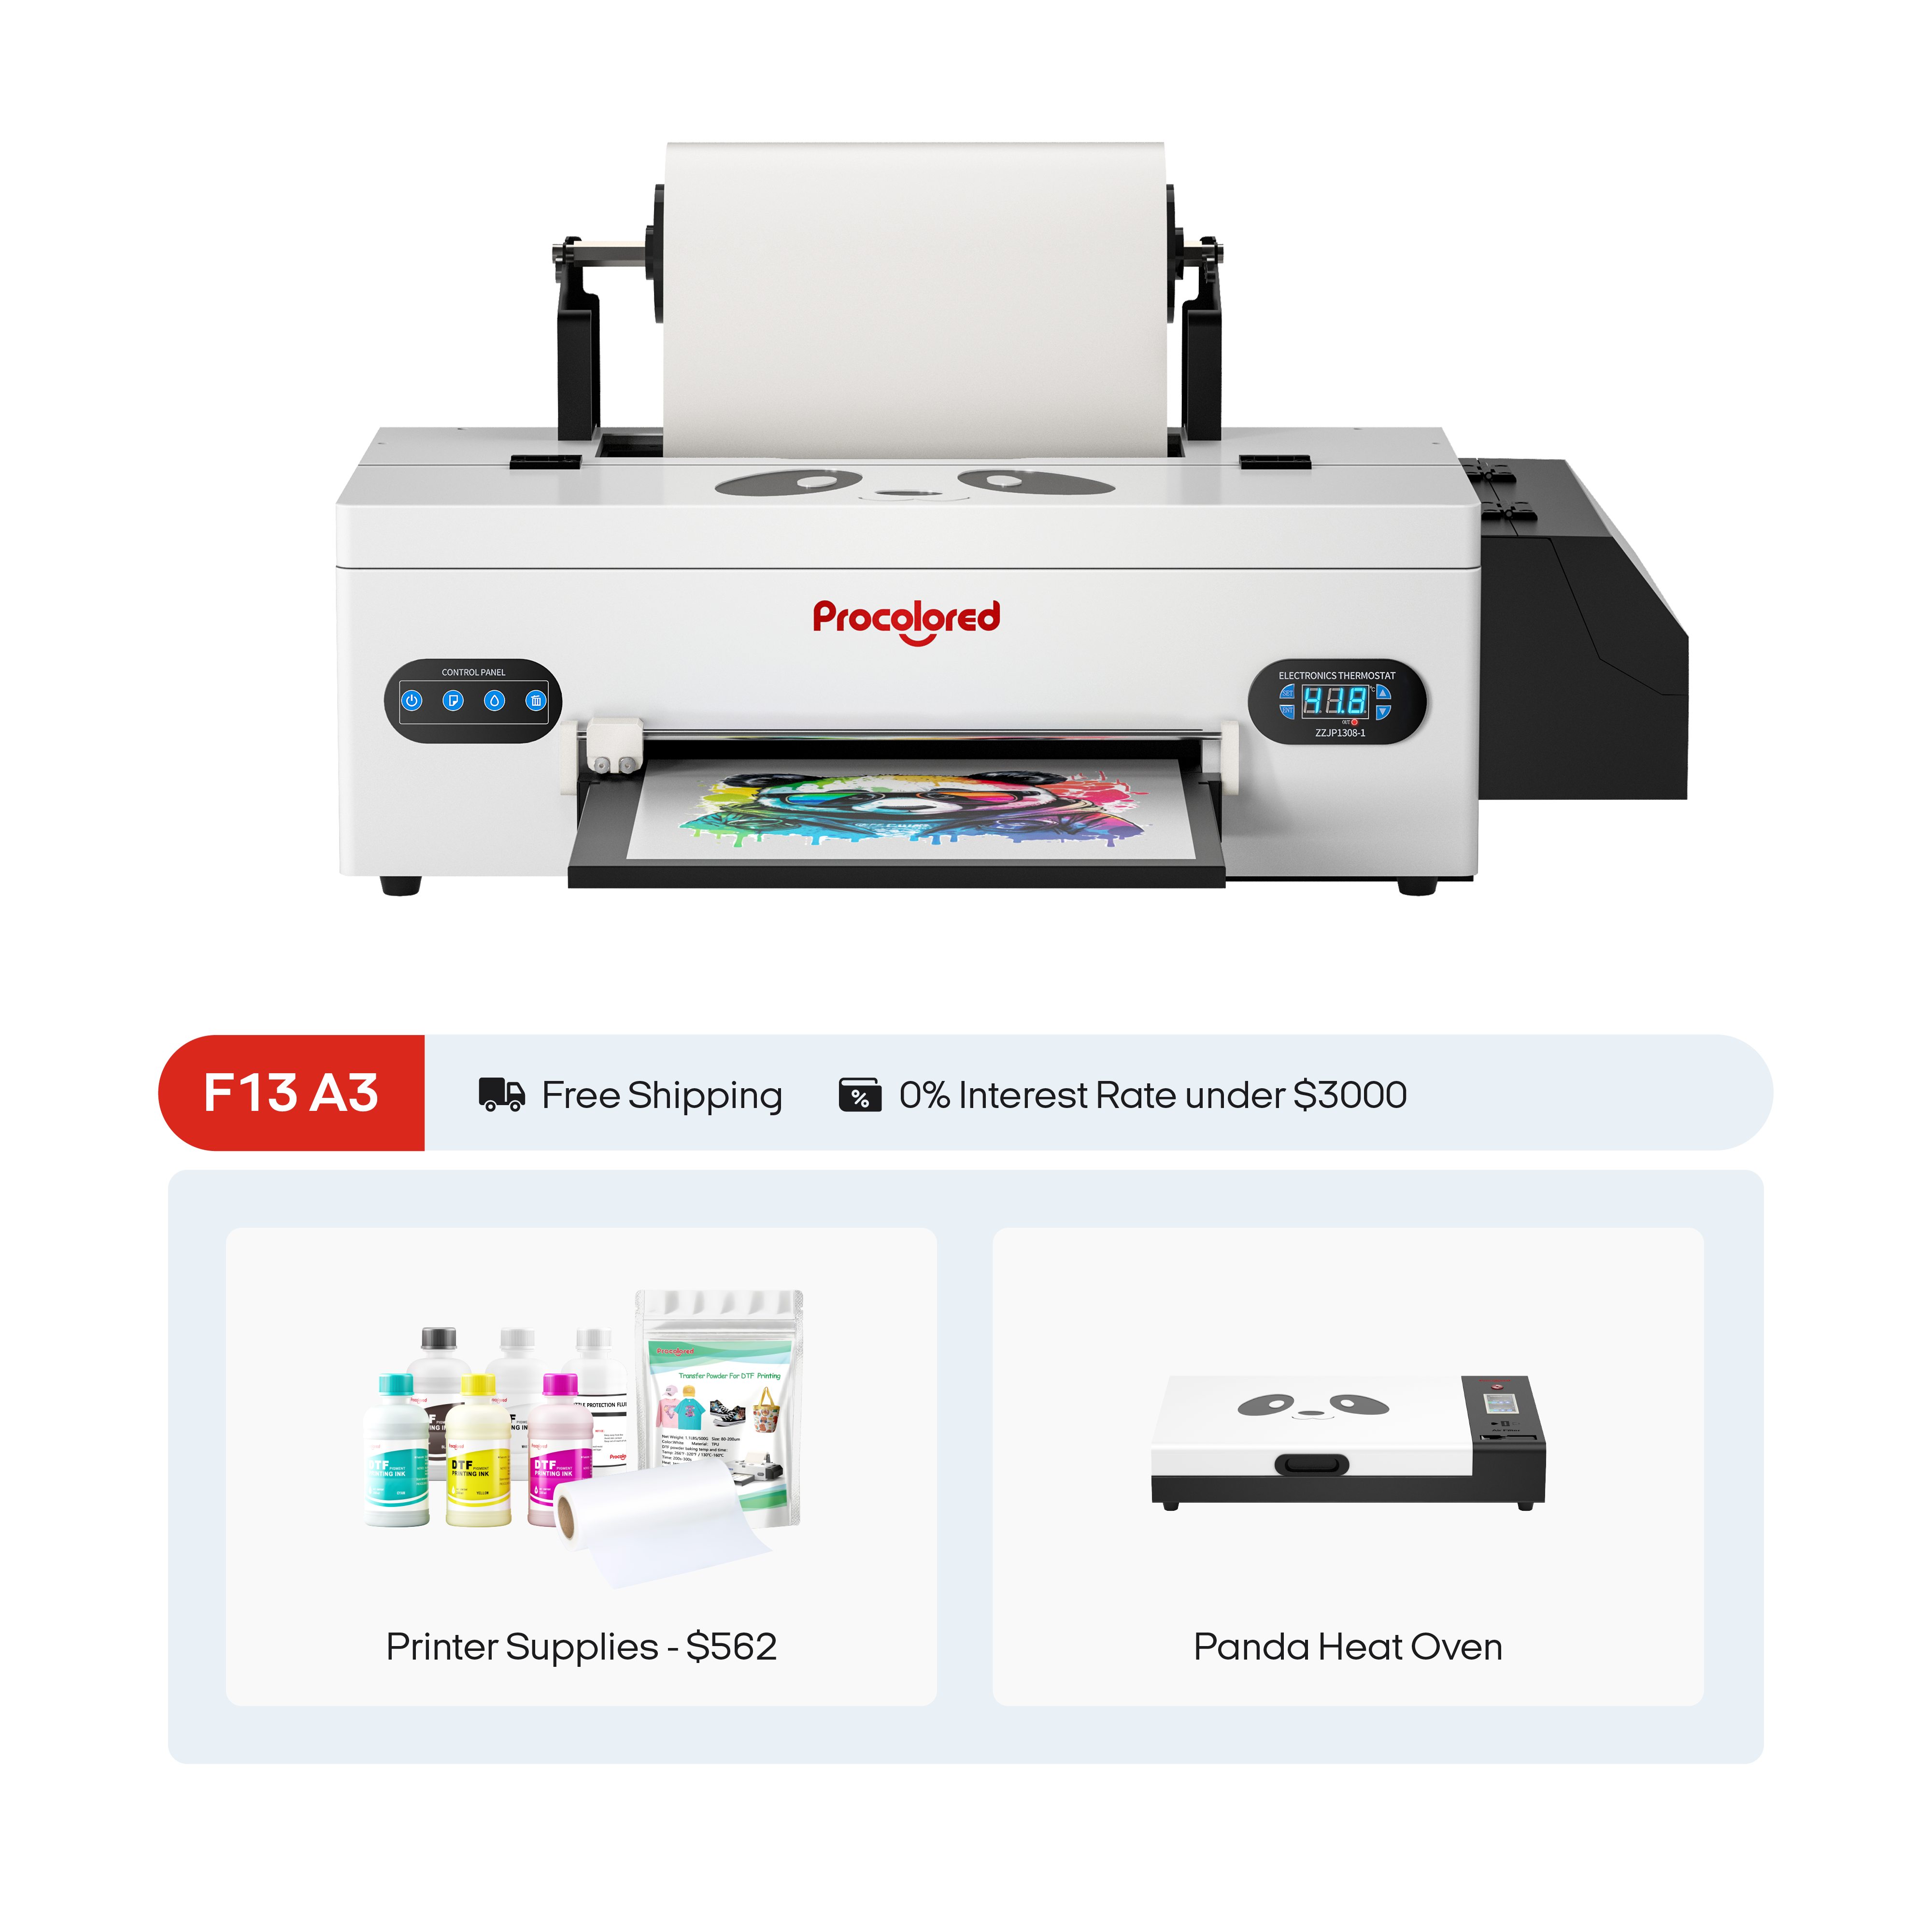
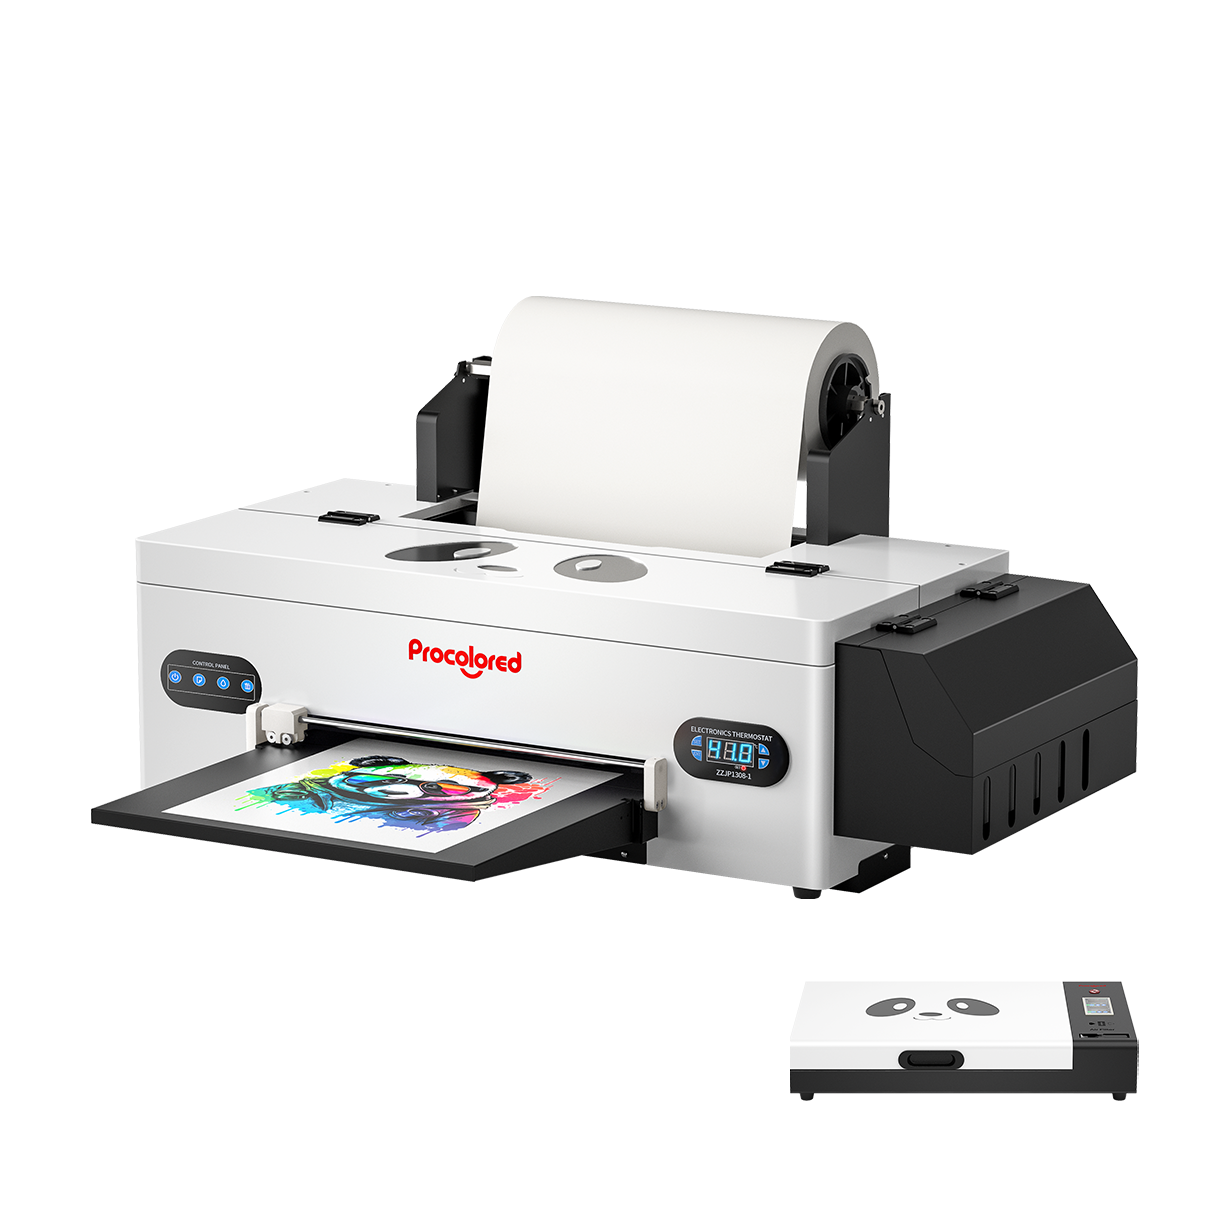
The DTF Pro printer is capable of accurately reproducing a wide variety of colors and accurate colors. The operation interface of the printer is user-friendly interface, allowing us easily upload designs, adjusting sizes and initiate printing. The advanced technology of DTF printing ensures vibrant and durable prints that can withstand frequent washing.
Here is 3 kinds of different adhesive powder - fine, medium and coarse. The fine adhesive powder is -80 mesh with a particle size below 170 micron, the medium adhesive powder is -150 mesh, of which the particle size is below 200 micron, and the mesh size of the coarse adhesive powder is -200 mesh with a particle size below 250 micron. When spread the adhesive powder on the wet ink layer of the DTF printer, for the same surface area, the finer powder has the lowest net volume. As a result, the size of the powder particles determines the thickness and the strength of the adhesive layer.
Finer powders are often better filling gaps but actually the grind of different adhesive powders has little affect on the final texture of the DTF print, because all the powders on the DTF print will be melt down and the appearances of the adhesive layers are almost the same. The only difference is their thicknesses, of course, the strength of adhesive layer determined by its thickness. The adhesive layers will not affect the color saturation of the DTF print, however, the thinner adhesive layer will make the print on the clothes feel softer and the thicker adhesive layer will make the print sit more firmly on a rough surface. So we need to select the appropriate powder for various applications. Different mesh sizes of adhesive power are suitable for different items, processes and requirements.

Coarse adhesive powder is often used on school bags and caps whose surface have a rough texture. It can make it decoration print adhered onto the uneven surfaces, providing a stronger bond. Medium grind adhesive powder strive a balance between strength and softness. It is often used on common T-shirts or uniform. And fine adhesive powder is often used in breathable DTF printing. And if you want the decoration of your clothes feel softer, you’ll definitely use fine adhesive powder.
Before starting a printing business of school supplies decoration, you need to define you niche, decide what type of school supplies you’ll focus on and what kind of printer and consumables are suitable for you business. And it is important to analyze the existing business that offer similar services as yours and understand the strengths and weaknesses of your business.
Take coarse adhesive powder as an example, let’s talk about some key points of DTF transfer.
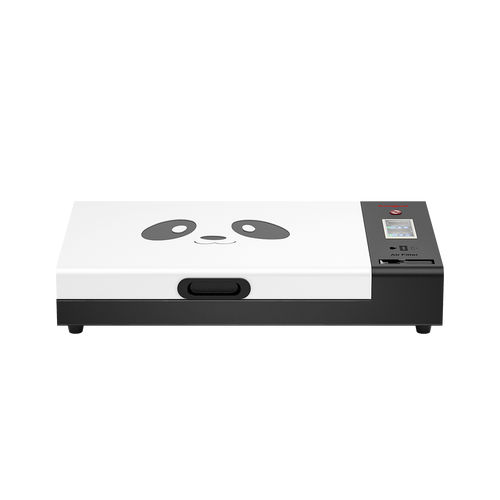
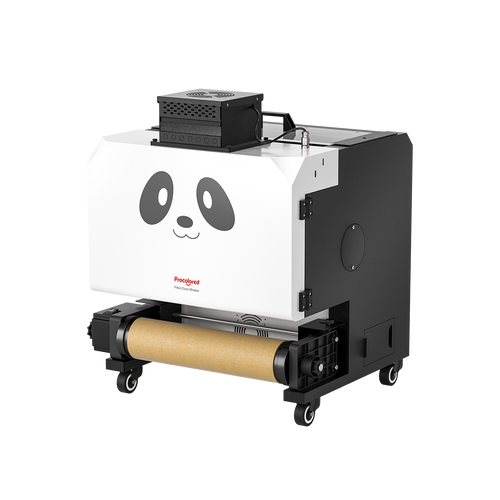
Make sure the powder covers all over the print surface, otherwise some part of the print will fall off. And the curing process of different adhesive powders require different temperature and duration. Coarse adhesive powder takes longer time before the powder layer completely melt down and gradually dry up. You need to ask manufacturer for recommendations about the curing procedure.

When heat pressing a school bag, put a cushion inside the bag to create a flat surface at the press position. Set the temperature to 170℃ and timer for 45 seconds. After heat pressing the print onto the bag, wait for the film sheet to cool down naturally before peeling it off. Check out the edges of the print, if there are any corners not adhered on the school bag fabric, make a second heat press on these corners. If you want to decorate a cap, you need a cap heat press. Fasten the cap onto the heat press and adjust the pressing position. Make sure the surface is clean and flat. Put the DTF print onto the press position and start the heat pressing. The temperature and the heat press duration are the same as that of school bag. After cooling down, check out the details of the press result and see whether it needs a secondary press.

