DTF Pro Printer Unboxing & Setups
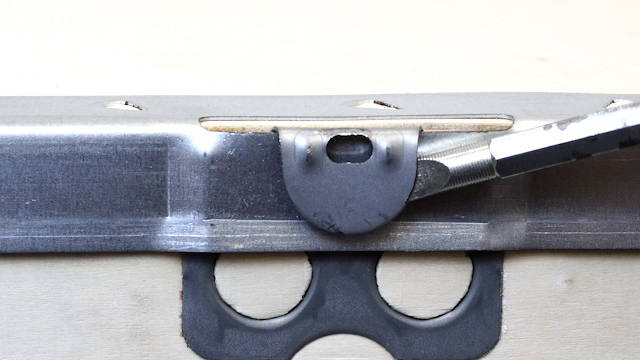
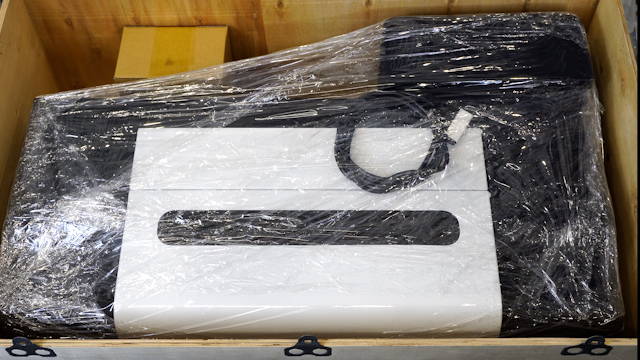
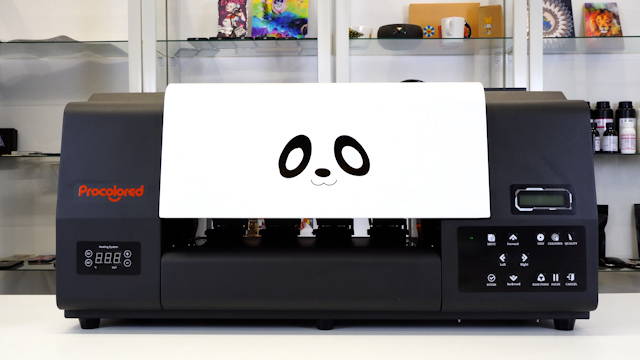
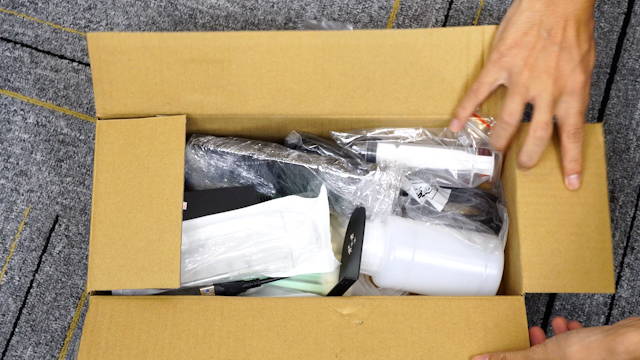
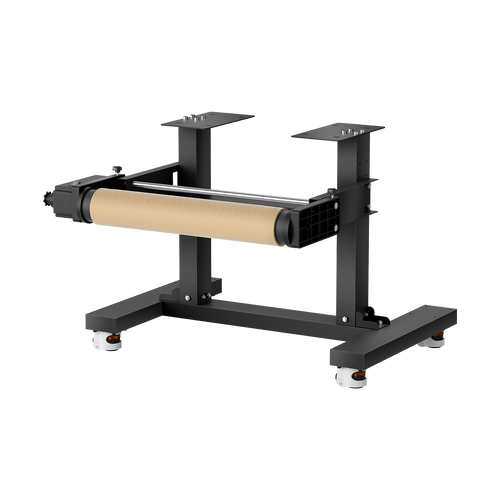
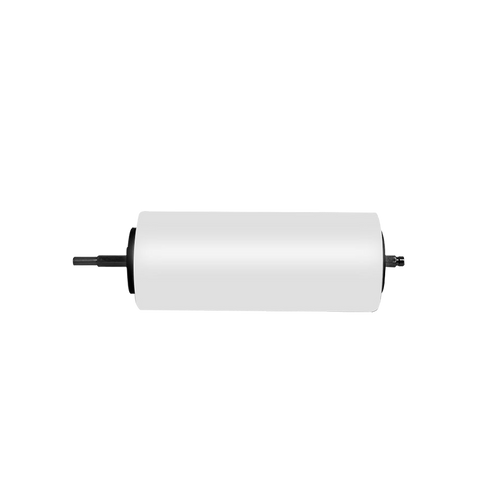
The DTF Pro printer is placed in a wooden box for safer delivery. Unlock the fasteners with a flat-head screwdriver. Pry the metal flap straightly up. Take off the lid of the wooden trunk. Remove the packaging foam and take out the printer. It needs 2 persons to do the job. Along with the printer, we have a cardboard box, a roller, and a DTF film roll. Inside the cardboard box, we got metal bracket, syringes, power cable, waste ink bottle, print-head moisturizing set, cleaning swabs, wiping cloth, waste ink syringe, USB adapter, Allen key, ink pumping tube and RIP(Raster Image Processor) dongle.
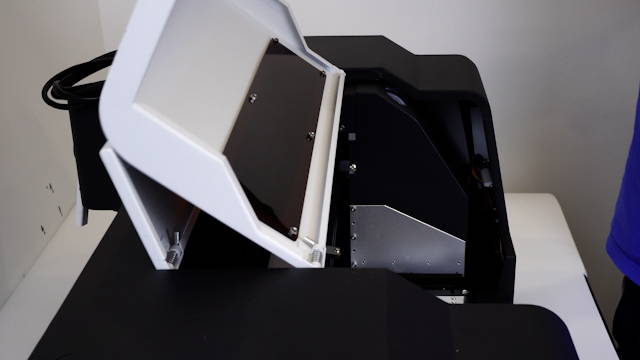
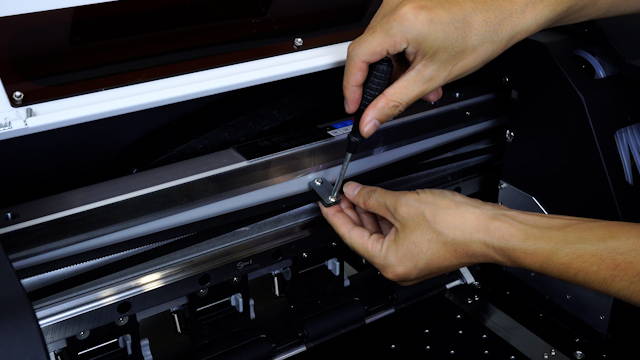
Before installing the parts of the DTF Pro printer, the first thing you need to do is to open the front cover and remove the metal fixing plates on the drive belt. The metal plates secure the drive belt during transportation but if you forgot to remove them before the machine is powered on, the drive belt could become deformed.
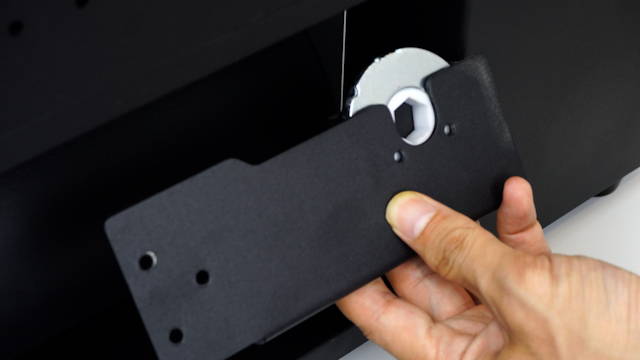
Use an Allen key to remove the pre-installed screws of the roller brackets. The 2 roller brackets are different in shape. At the right side, the bracket comes with a removable bar holder. Align screw holes and fasten the screws in place.
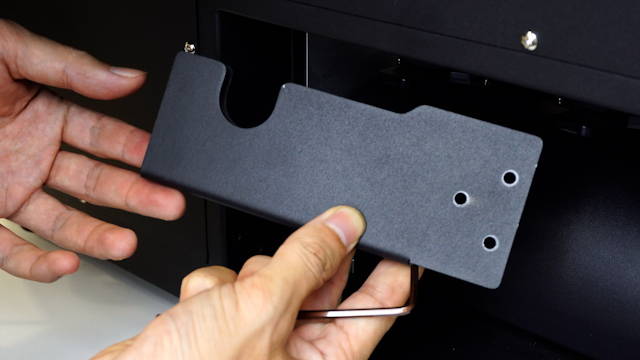
Loose the screws on the left side. Install the left bracket of the film roller. The DTF film roller is quite heavy, so the screws of the bracket should be fasten well.
Loose the screws on the two ends of the roller bar.
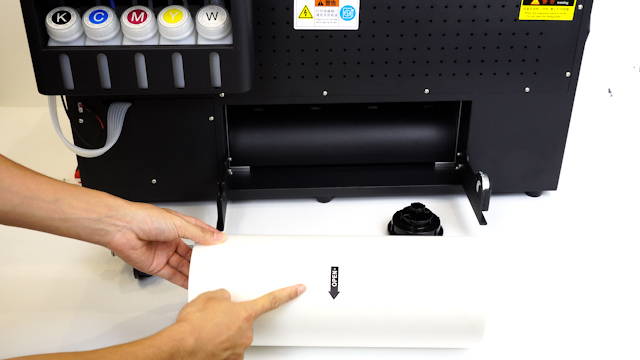
We need to adjust the positions of the 2 plastic support. Before inserting the roller bar through the DTF film roll, pay attention to the direction of the film leading edge. Only the outer surface of the DTF film is printable.
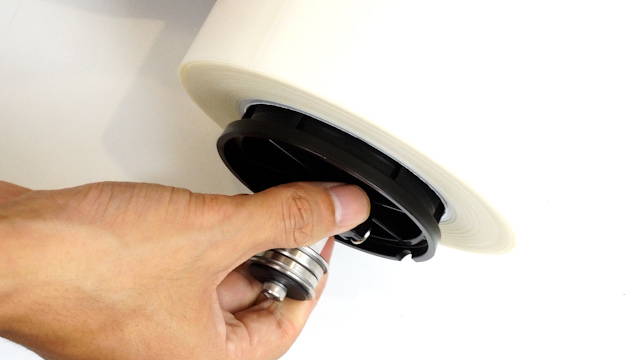
Insert the roller bar through the film roll. Not yet to fasten the screw on the plastic holder. Adjust the position of the roller bar that passes through the plastic holders.
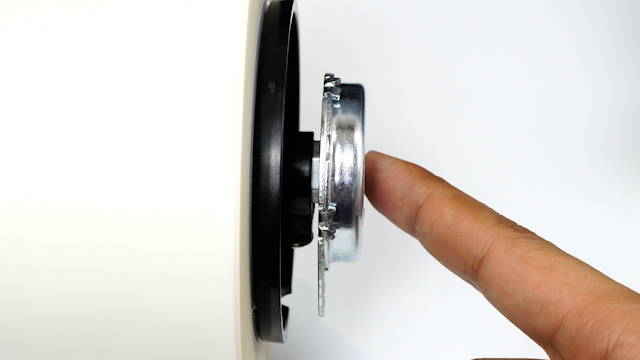
Pull the bar holder to align the top of the roller bar when loading the film.
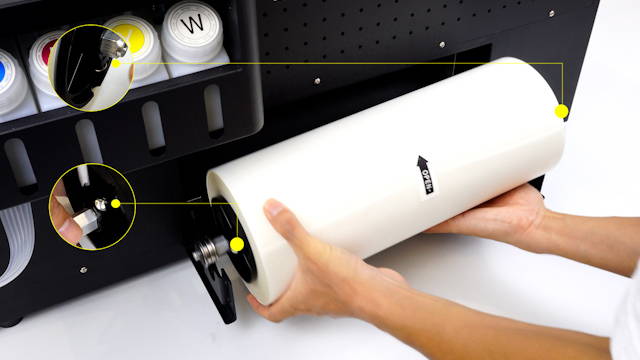
Remember to fasten the screws on the plastic holders before loading the film roller.
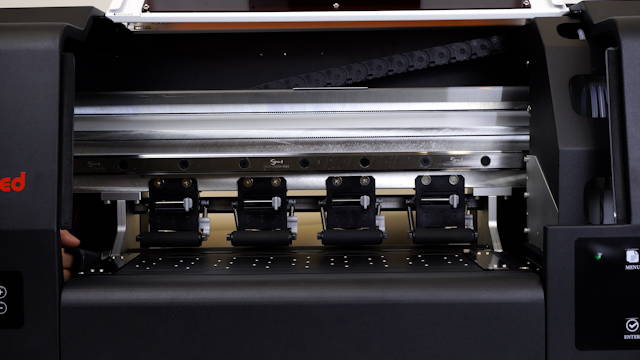
Open the side door of the printer. Pull up the lever and the film advance array rollers will raise.
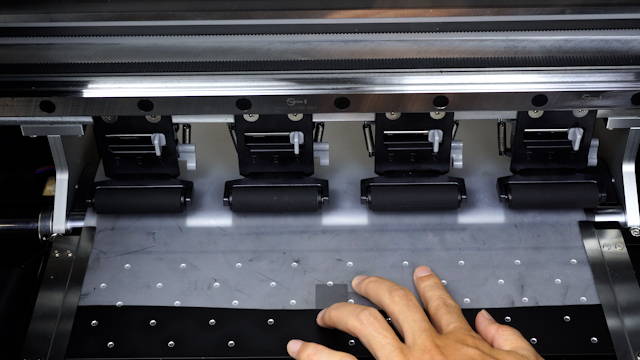
Pass the film sheet through the array rollers. Guide the film sheet to go under the 2 metal plates on the printing platform. Put down the roller array.
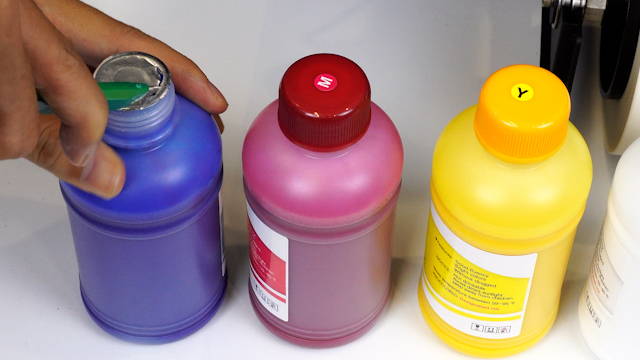
The next step is to fill the ink tanks. Cut off the Aluminum foil seal of the ink bottles. There are 5 ink tanks on the printer. Each tank has its corresponding color.
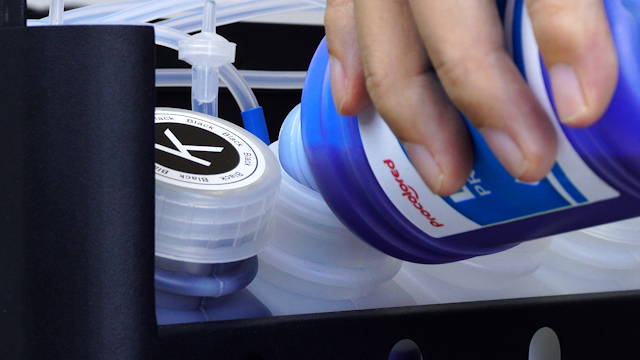
C refers to cyan ink, M refers to magenta ink, Y refers to yellow ink, K refers to black ink and W refers to white ink. If you pull the fault ink into a tank, you need to empty the ink from the tank with syringe and ink pumping tube.
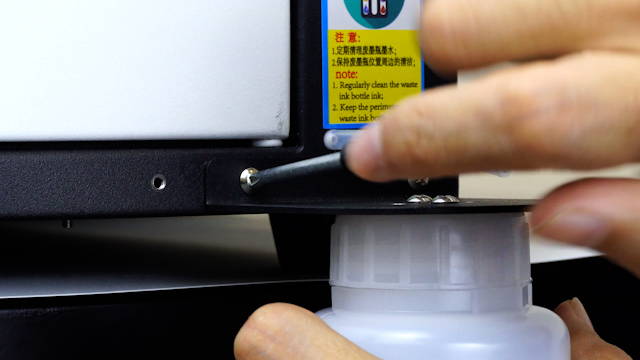
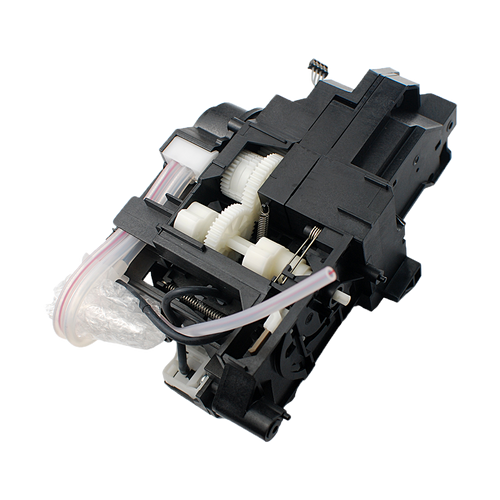
Before we process to load inks into the print-head, we need to install the waste ink bottle. Remove the screws. The printer should be placed at the edge of the table so that the bottle can be fastened at the bottom side rail.
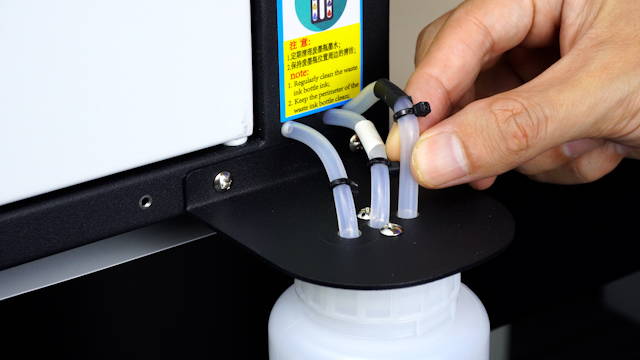
The printer comes with 3 waste ink tubes. The one without label is for waste ink that dropped off from the print-head parking position; the one with white label is for white waste ink and the one with black label is for inks of all the other colors.
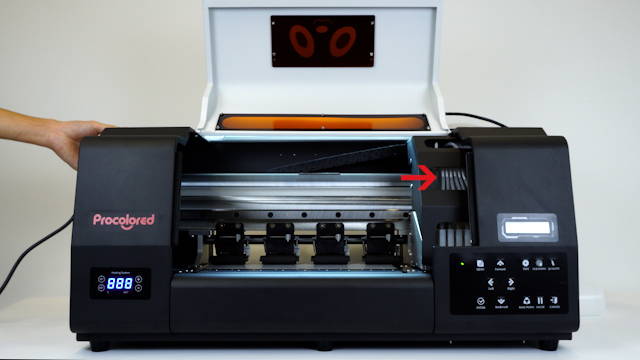
Power on the printer. As soon as the printer is powered on, the white ink circulation system will start automatically.
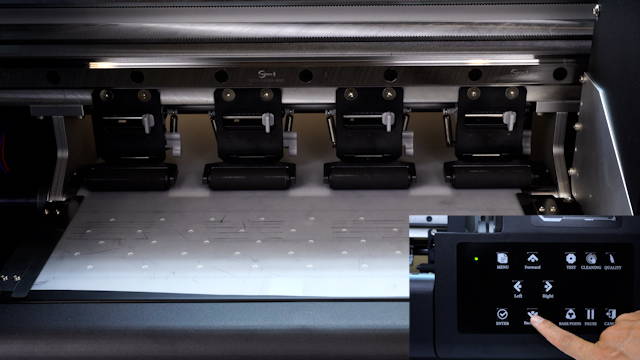
Press the “Forward” and the “Backward” buttons to check whether the film sheet can pass through the printing platform smoothly.
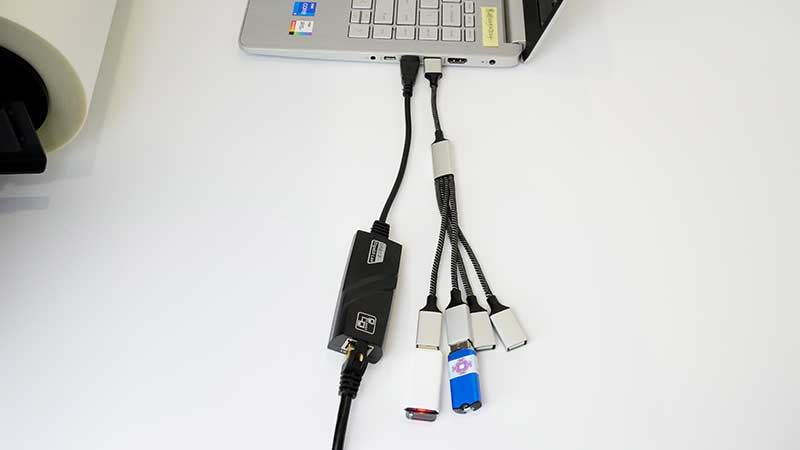
On the cable tie, it is a USB flash drive store with guidance videos and printer software. This is a USB 3 adapter for fast data transfer. If your WAN port can reach the speed of 1 Gigabit per second, you don’t need this USB adapter. The white one is just a regular USB thumb drive for data storage, after you transfer all the file inside to your computer, you don’t need it anymore. The blue one is a RIP dongle, you’ll need it every time you use the RIP software.
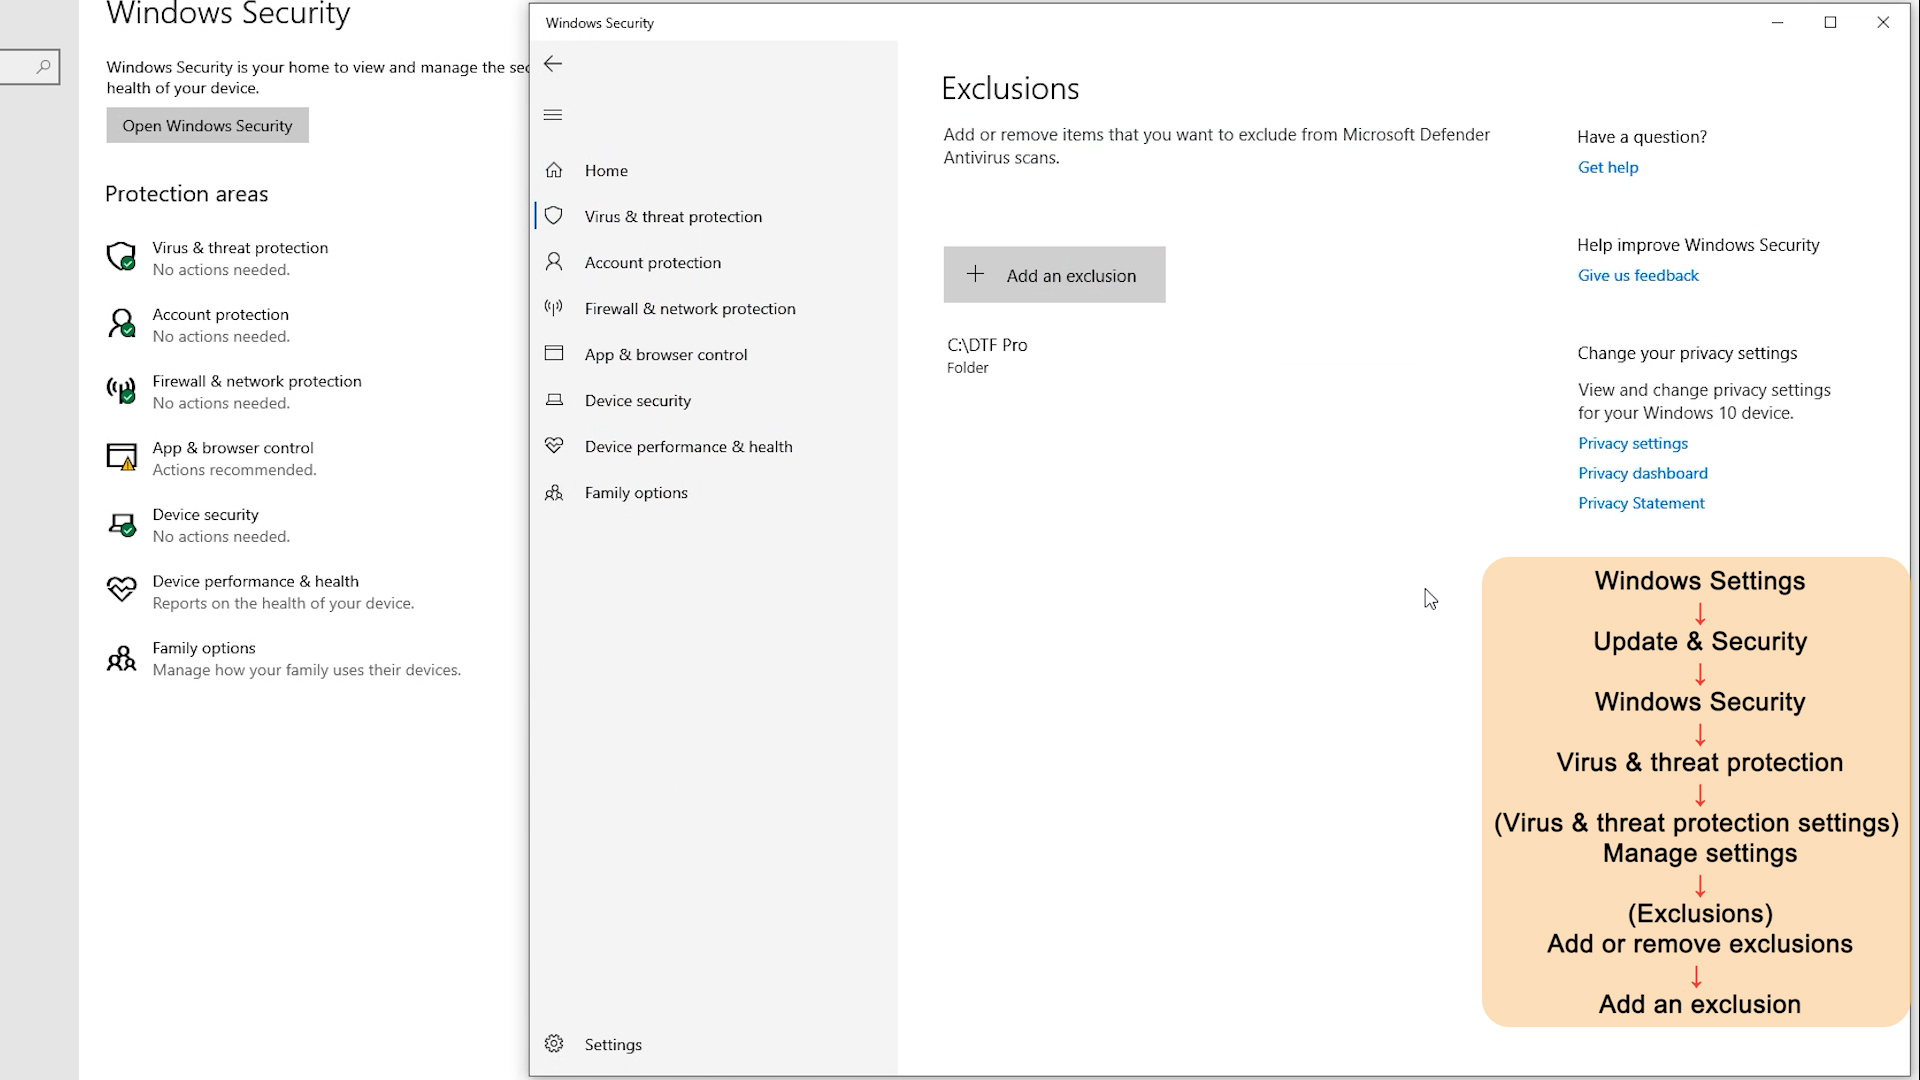
Create a new folder in C drive. Here we name it as “DTF Pro”. Press “Win” and “I” to enter the windows security center and add the new created folder as trusted.
Path: Windows Settings → Update & Security → Windows Security → Virus & threat protection → (Virus & threat protection settings) Manage settings → (Exclusions) Add or remove exclusions → Add an exclusion
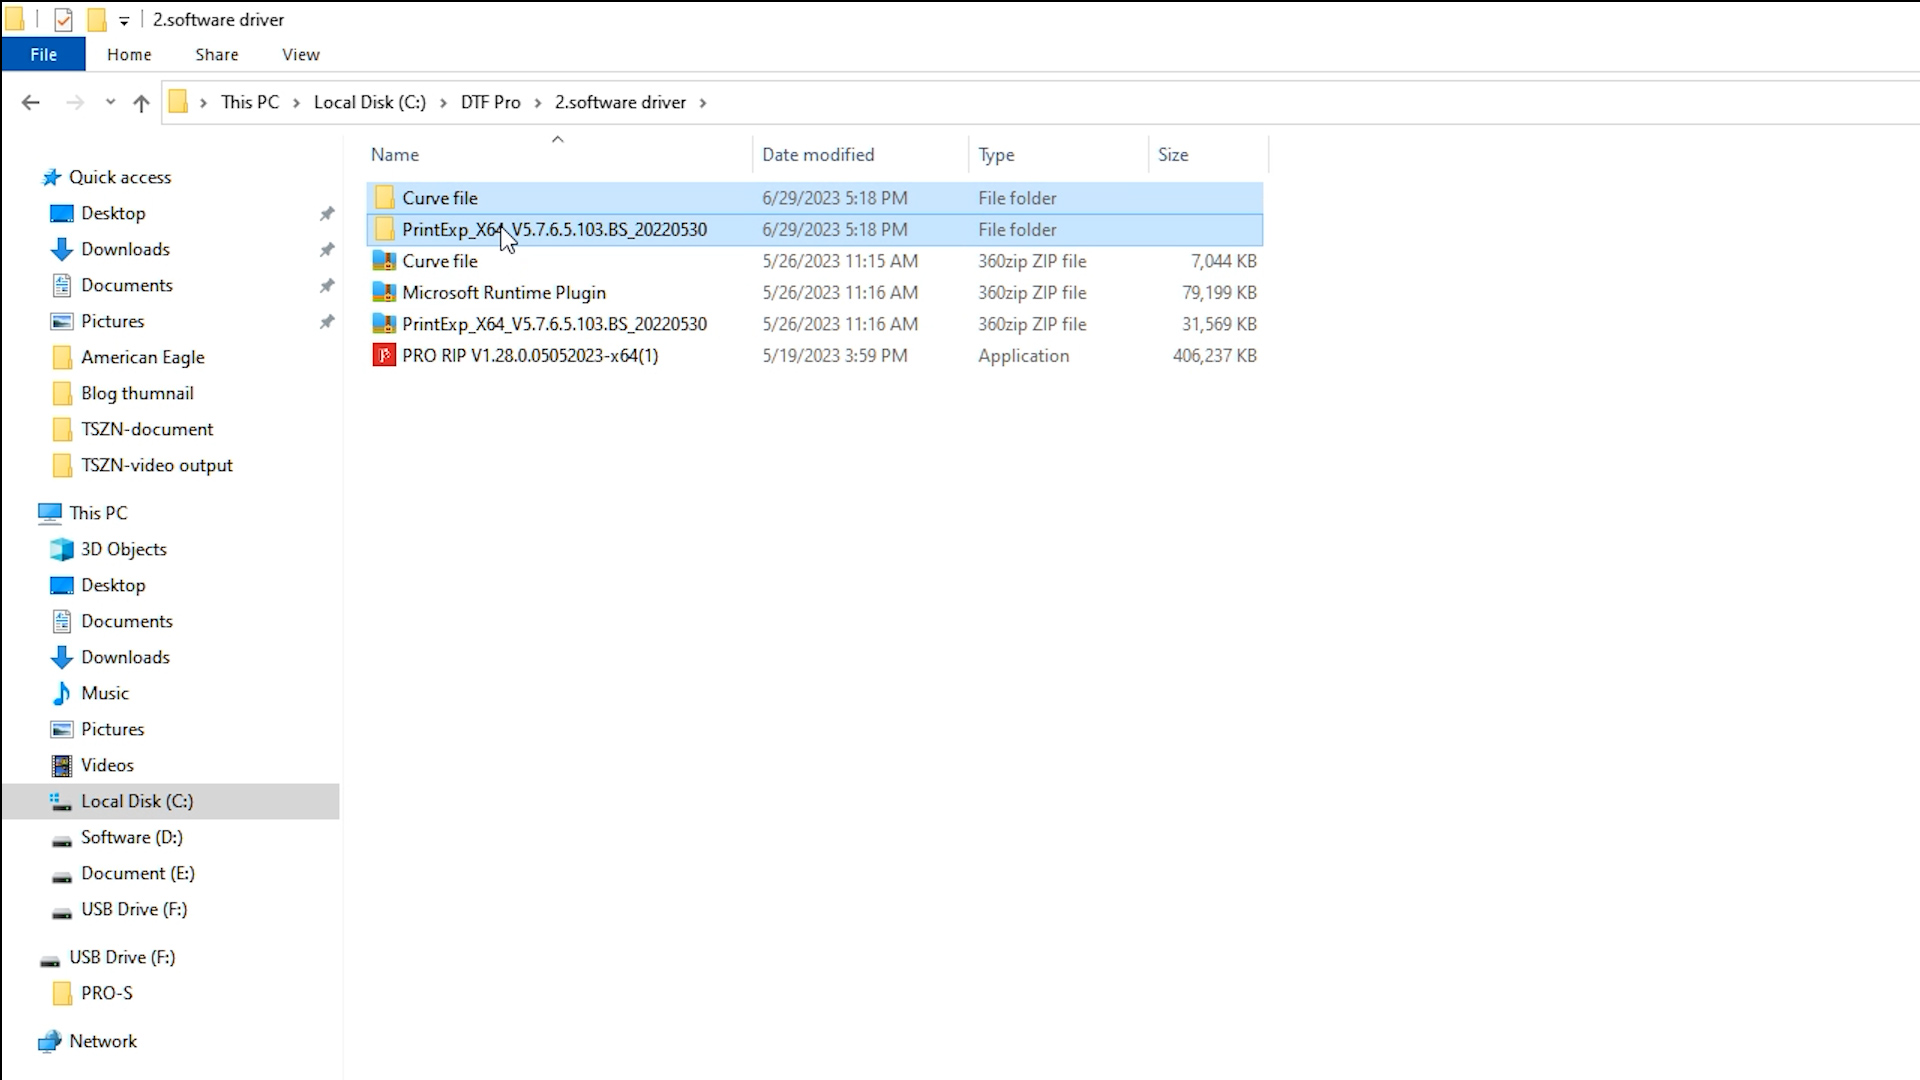
Open the white USB drive. Here we have must-see courses, software driver, test charts and remote software. Copy all the folders to the “DTF Pro”folder, or you can leave the video courses behind if you don’t want them to stuff up your C drive. Open the software driver folder. I delete these 2 folders because some files inside may be deleted by the security app of my computer.
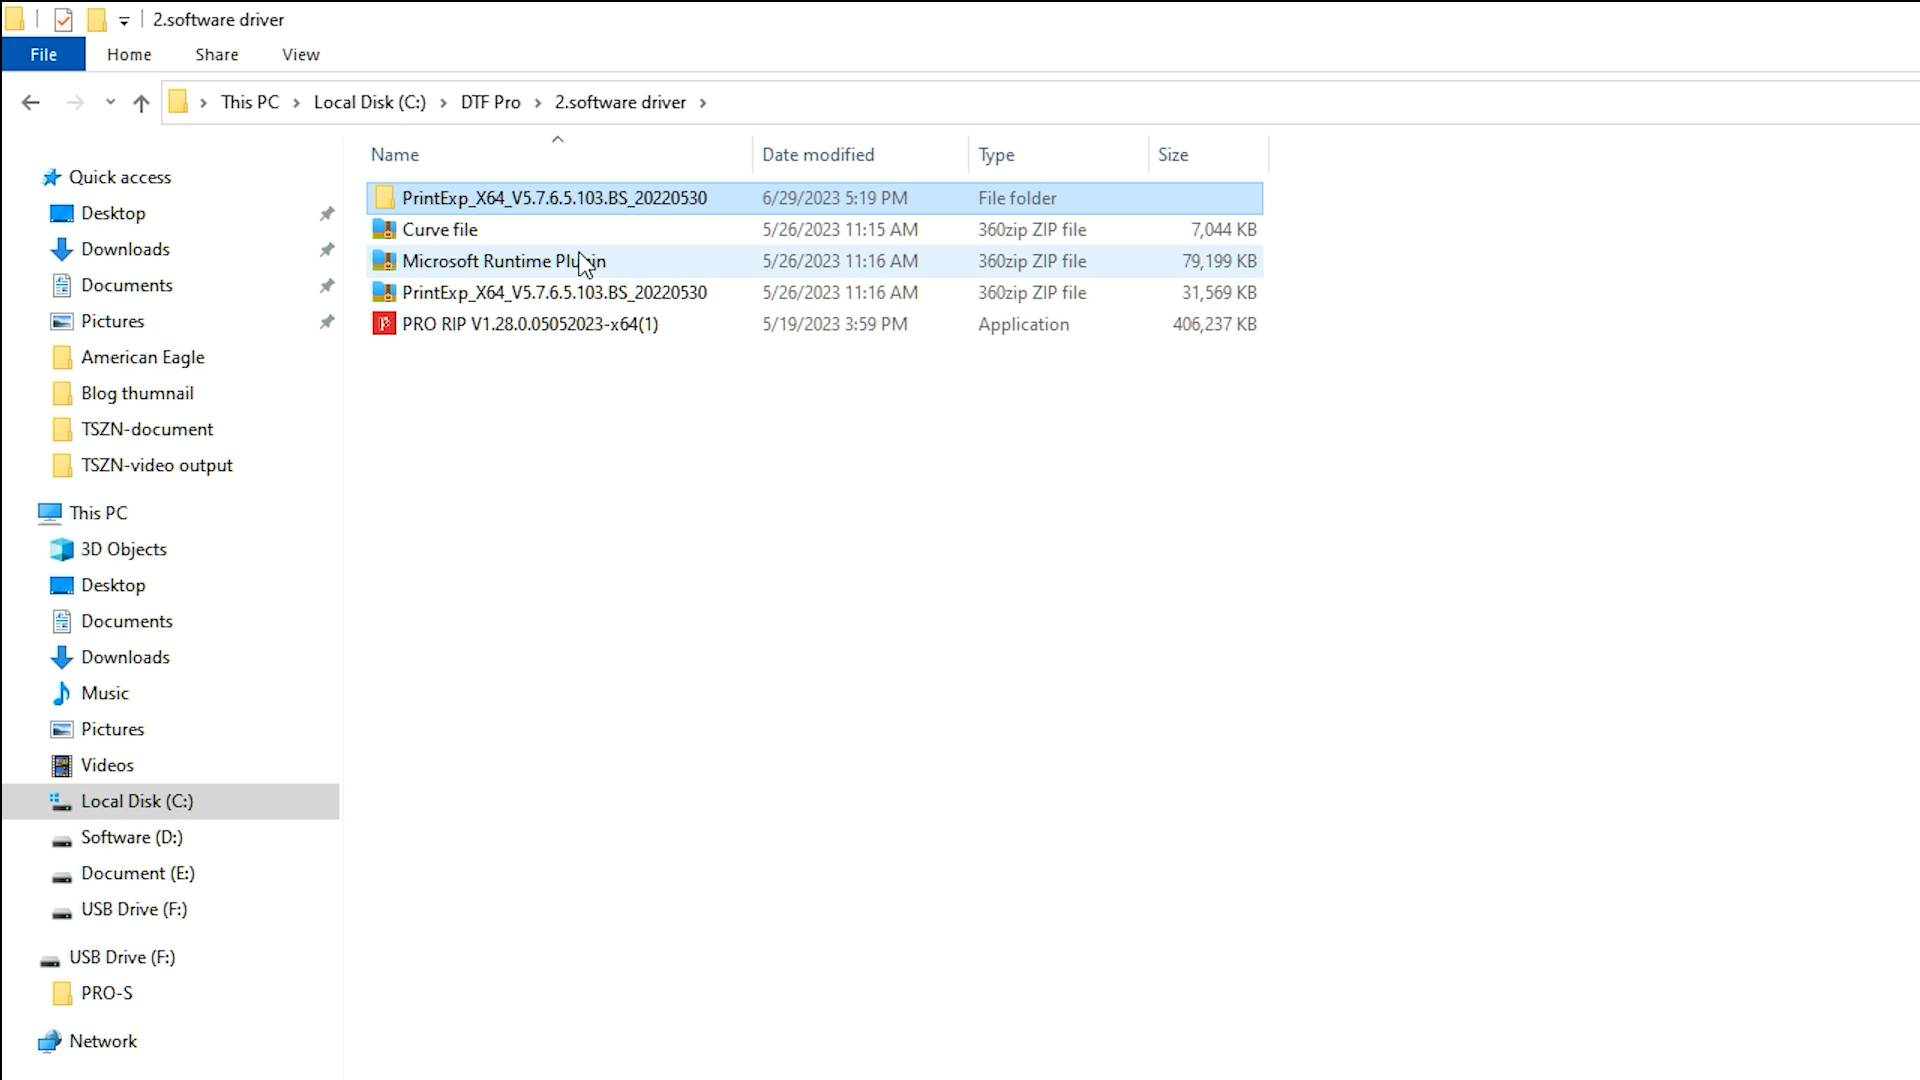
Extract the Print Exp software to the current folder, send the Print Exp shortcut to desktop. So, the print control software is already installed. Go to the software driver folder in the C driver again, extract the Microsoft Runtime Plugin to the current folder and install the plugin.
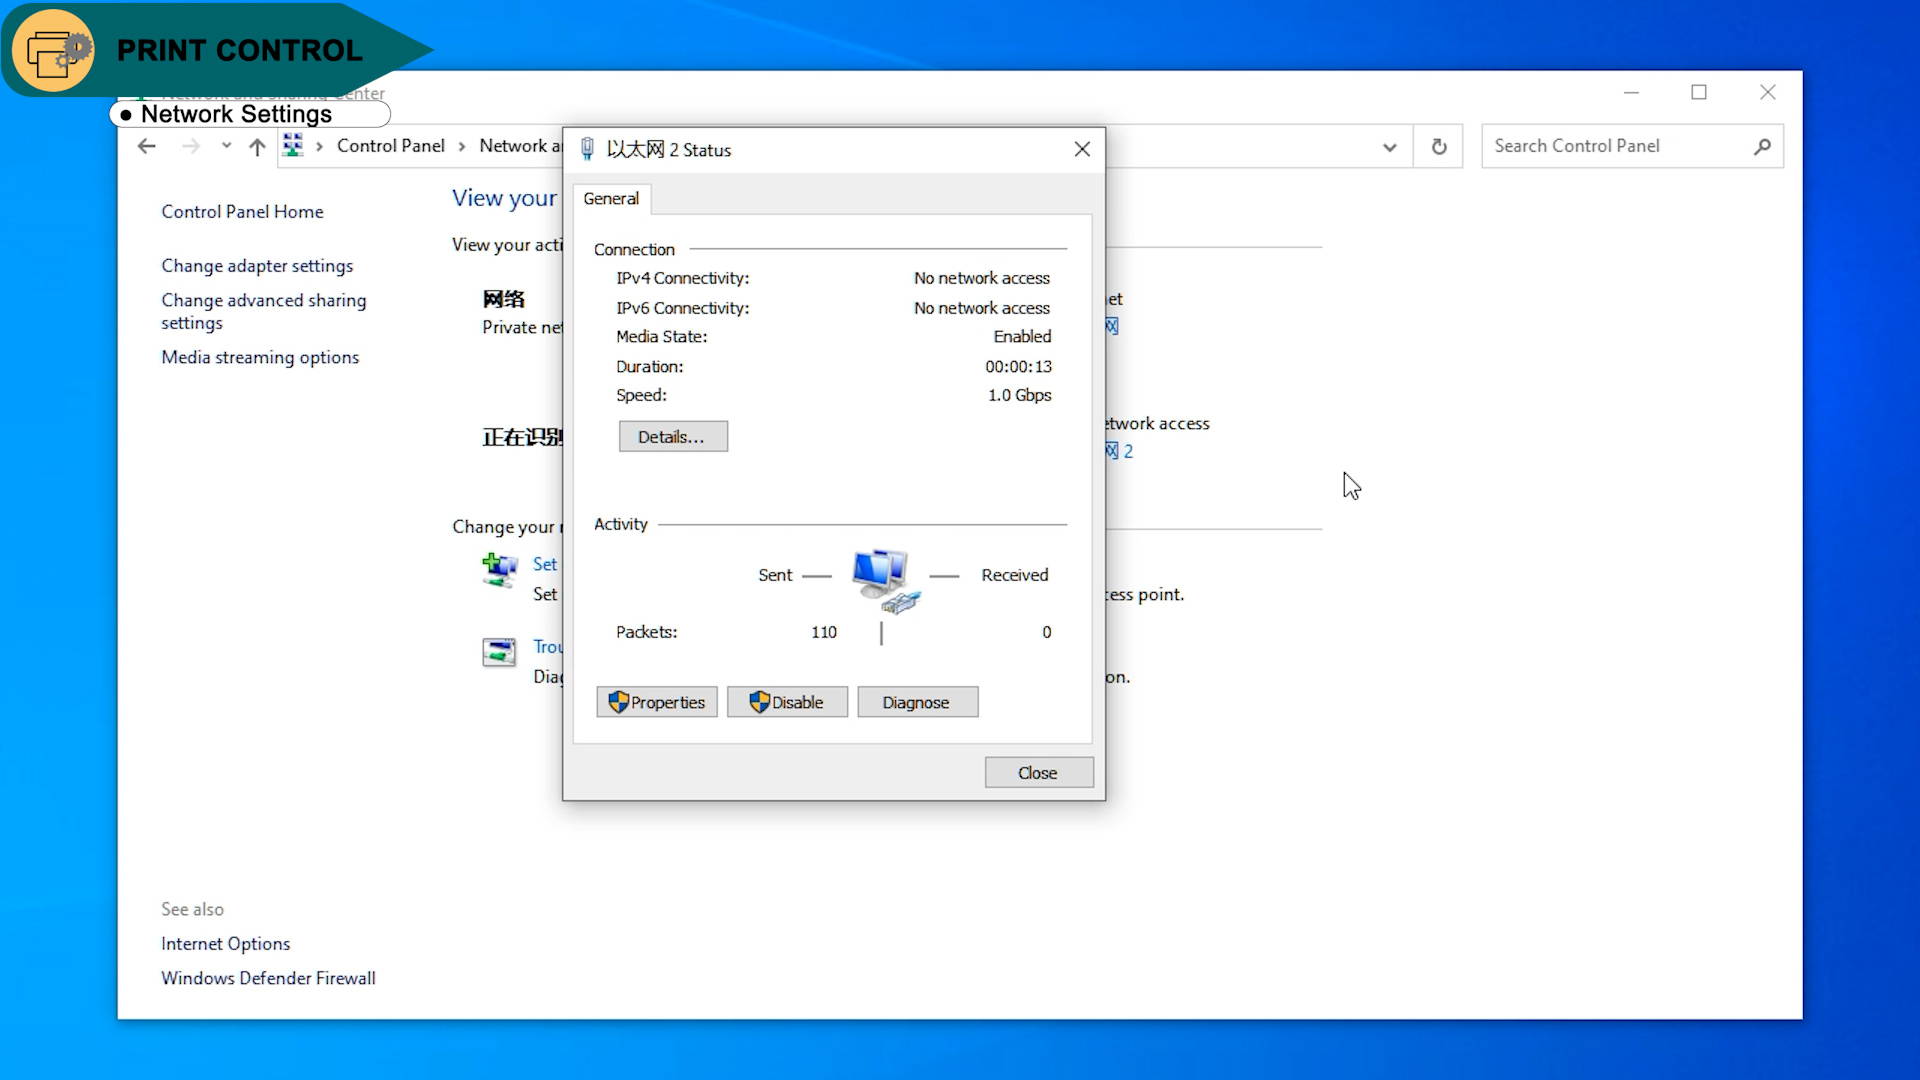
Press Win and R to open the Run window, input “control” and click “OK” and we are reaching at Control Panel. Here the public network with no network access is from the printer. If you are not sure which network is from the printer, you can unplug and reconnect the data cable of the printer. The printer Ethernet will pop up again. Click the Ethernet name to check out the network speed. The speed should be no lower than 1 Gigabit per second. Remember this Ethernet name, you’ll use it later.
Path: Control Panel → Network & Internet → Network and Sharing Center → Ethernets
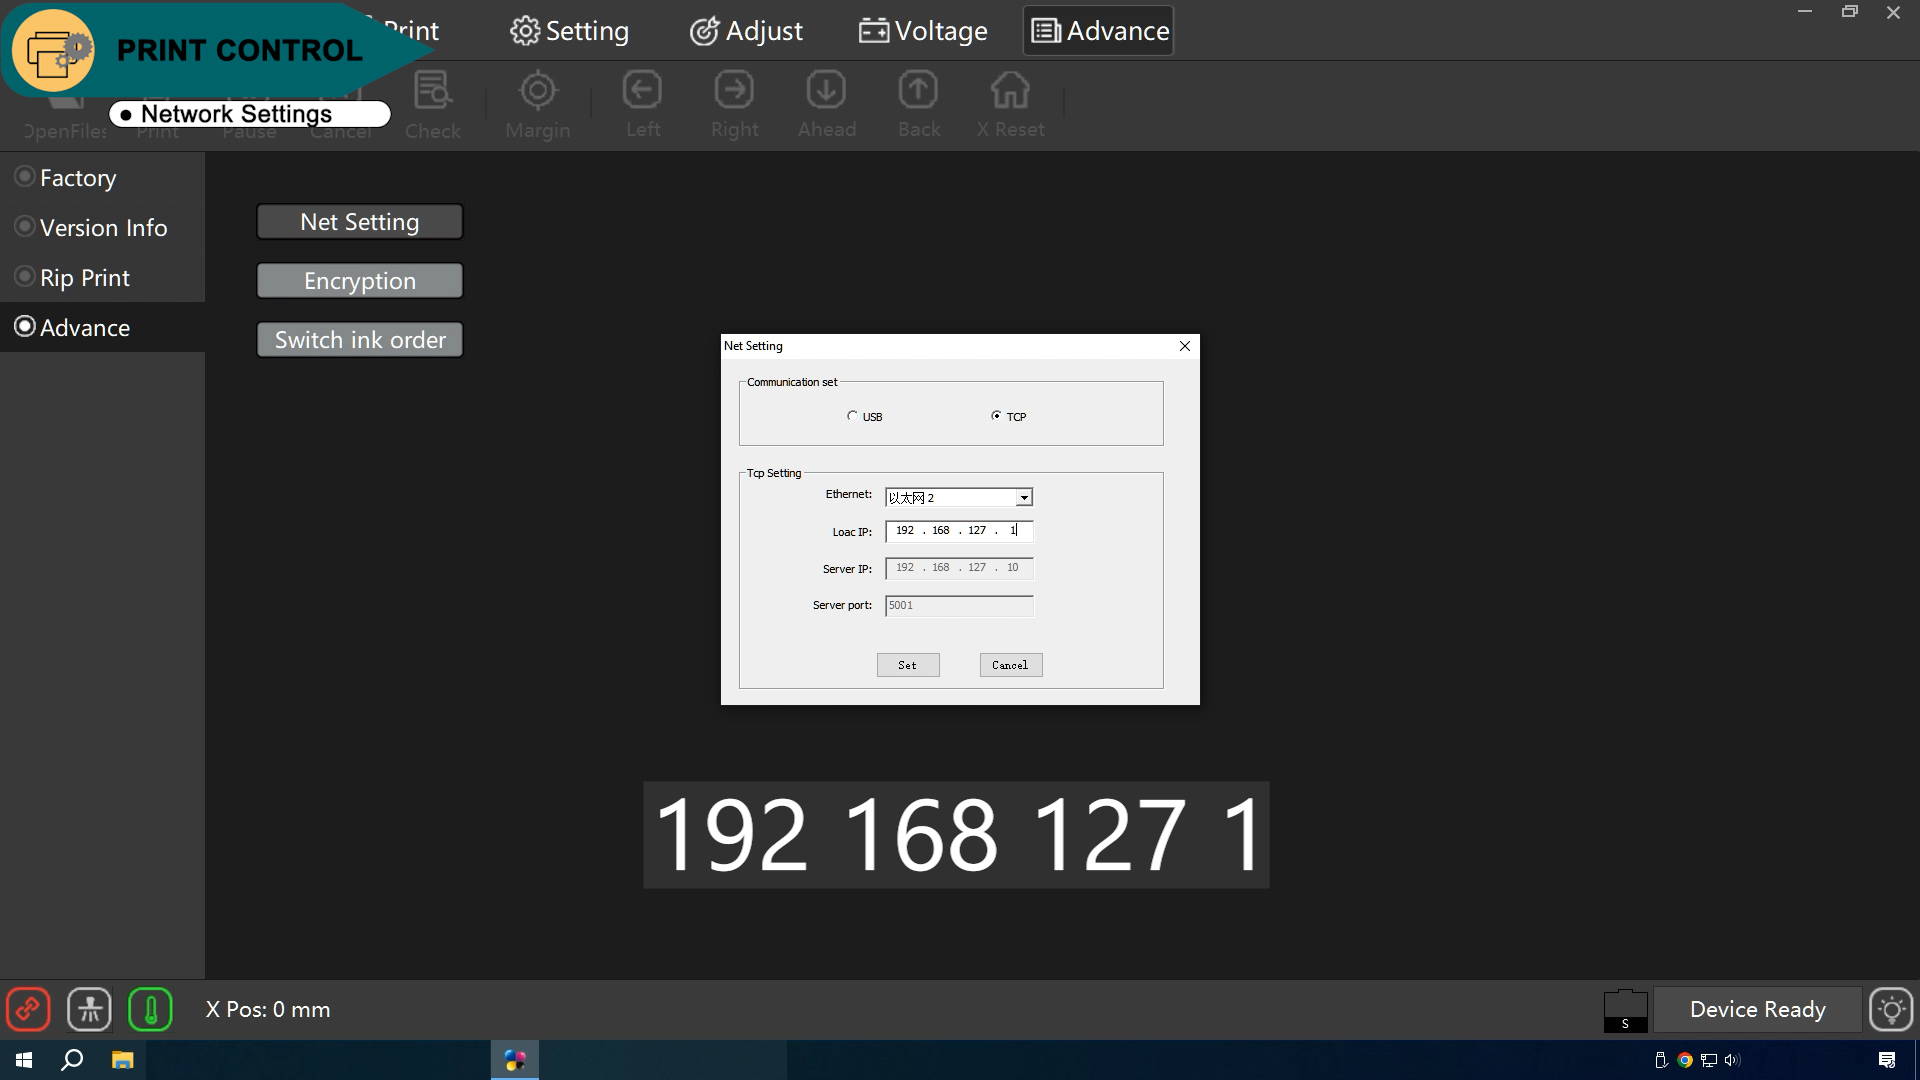
Open the Print Control software, find the Net settings. Choose TCP and select the Ethernet name of the printer. Input 192.168.127.1. Click “Set” and “OK” button, and wait the connection icon at the left lower corner to turn green. When the process is finished, the prompt message “Device Ready” will show up at the right lower corner.
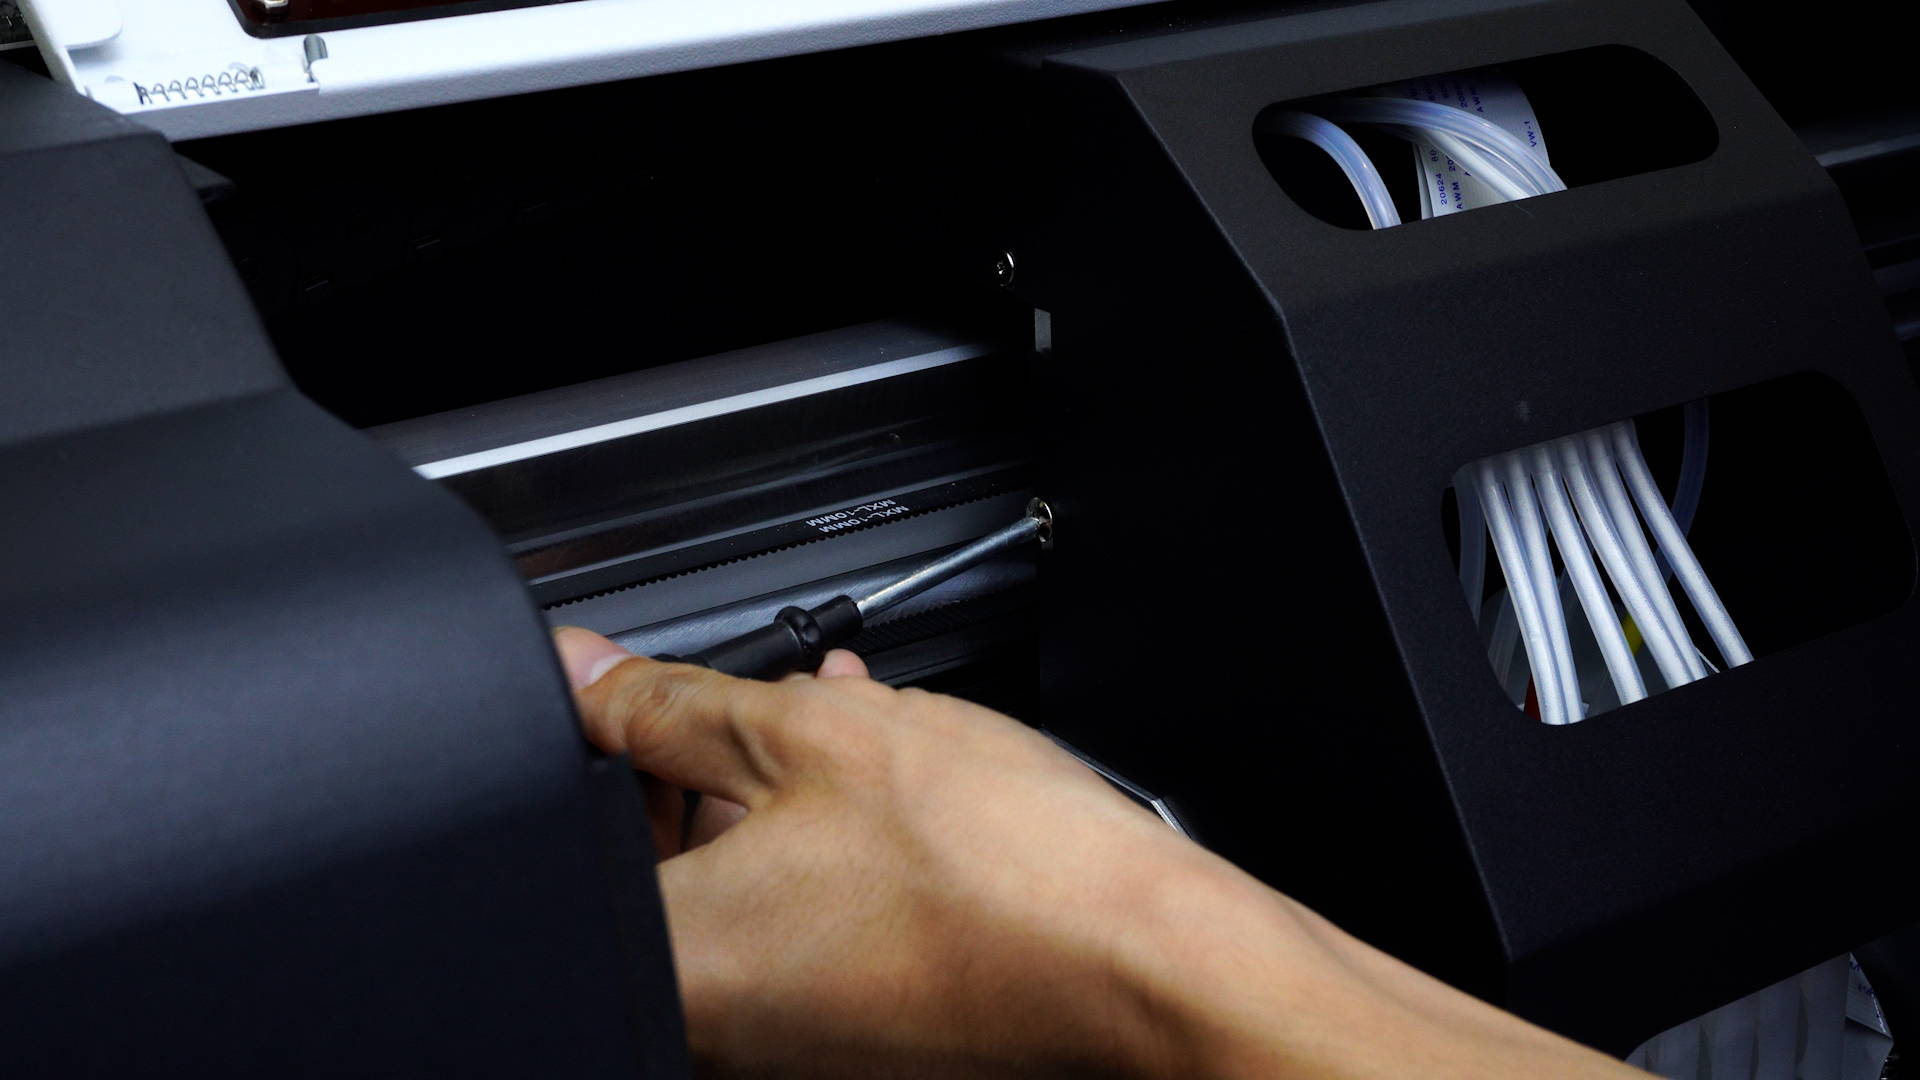
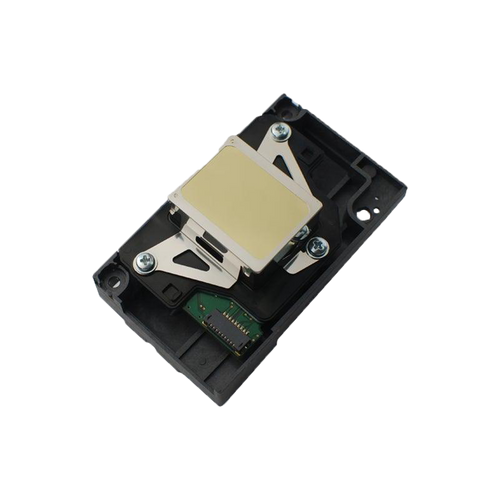
The printer is ready now, the next step is to load inks. Move the print-head assembly to the middle. Undo the screws at both sides and remove the black cover of the print-head assembly.
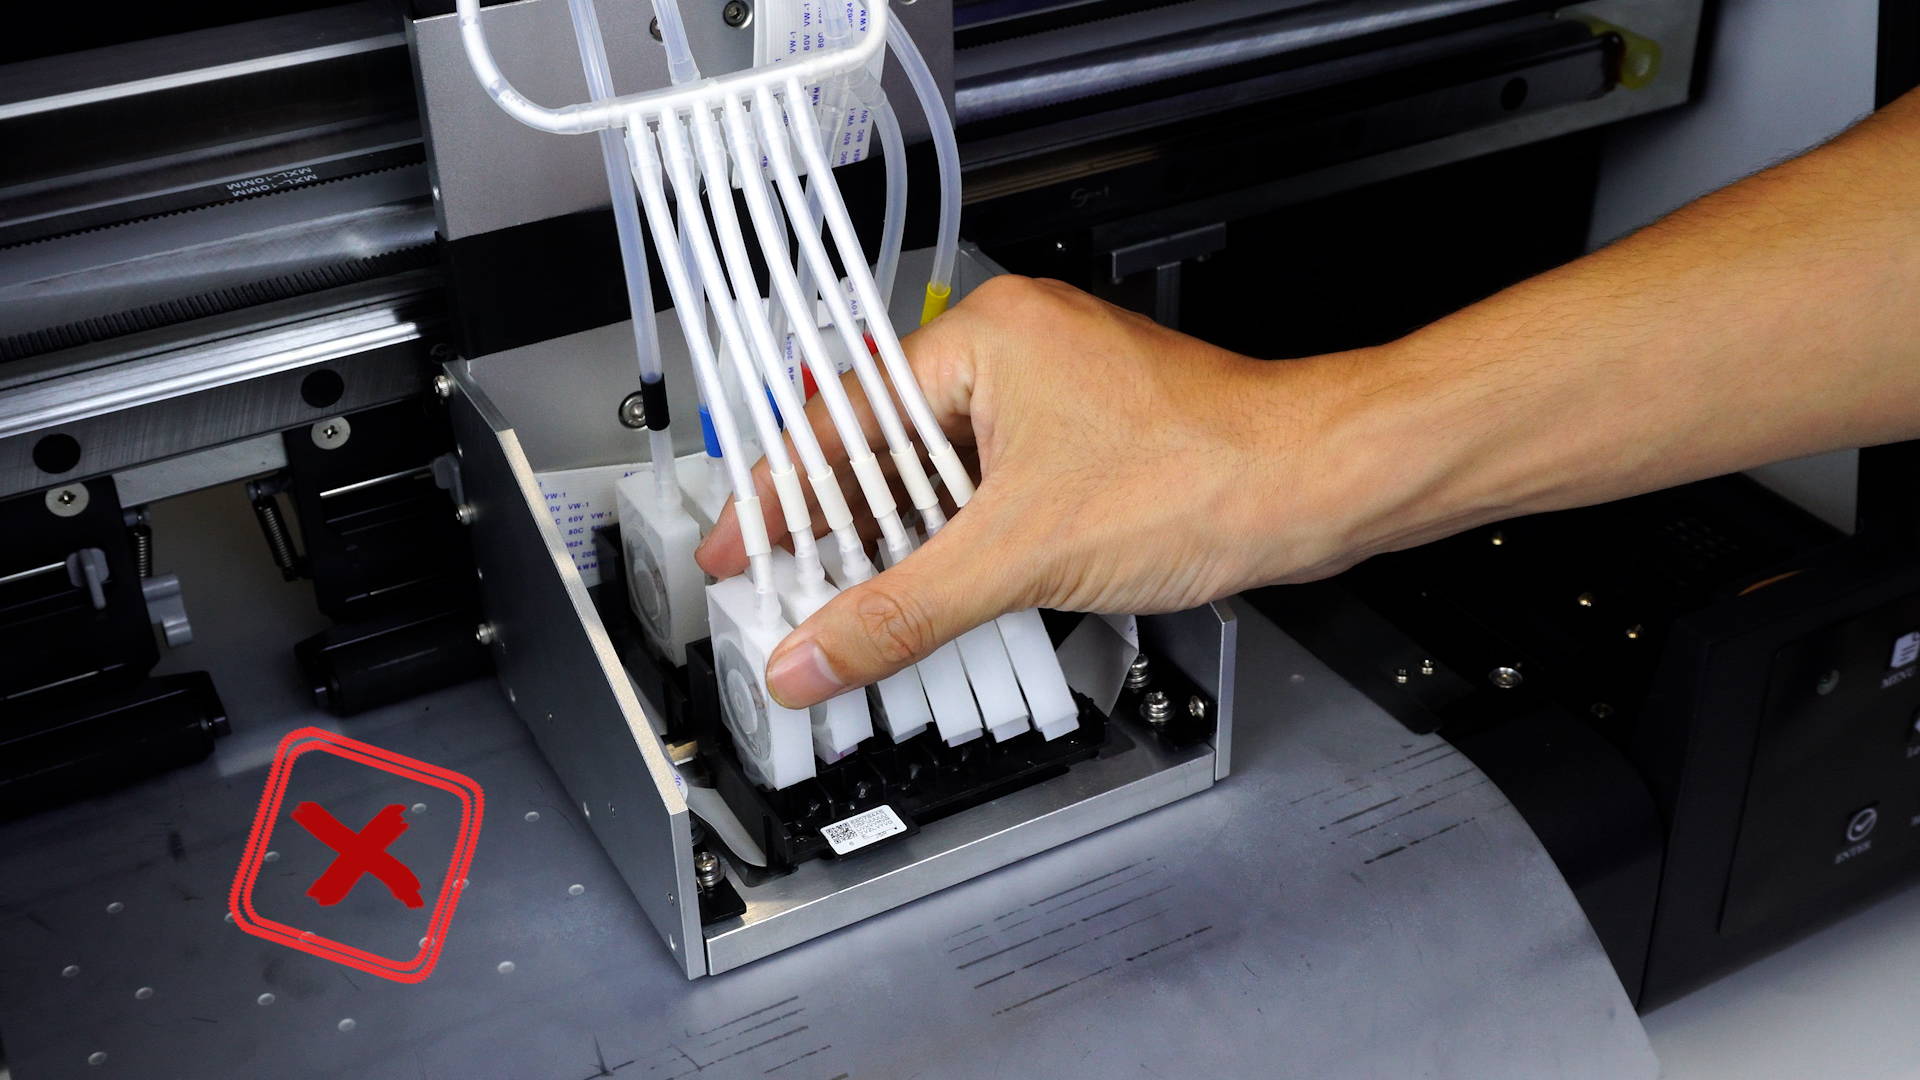
Don’t take off all the ink cartridges at the same time. Some ink cartridges are interconnected, air will enter other ink tubes. Don’t turn the ink cartridge downward when extracting ink, this will cause many bubbles in the ink.
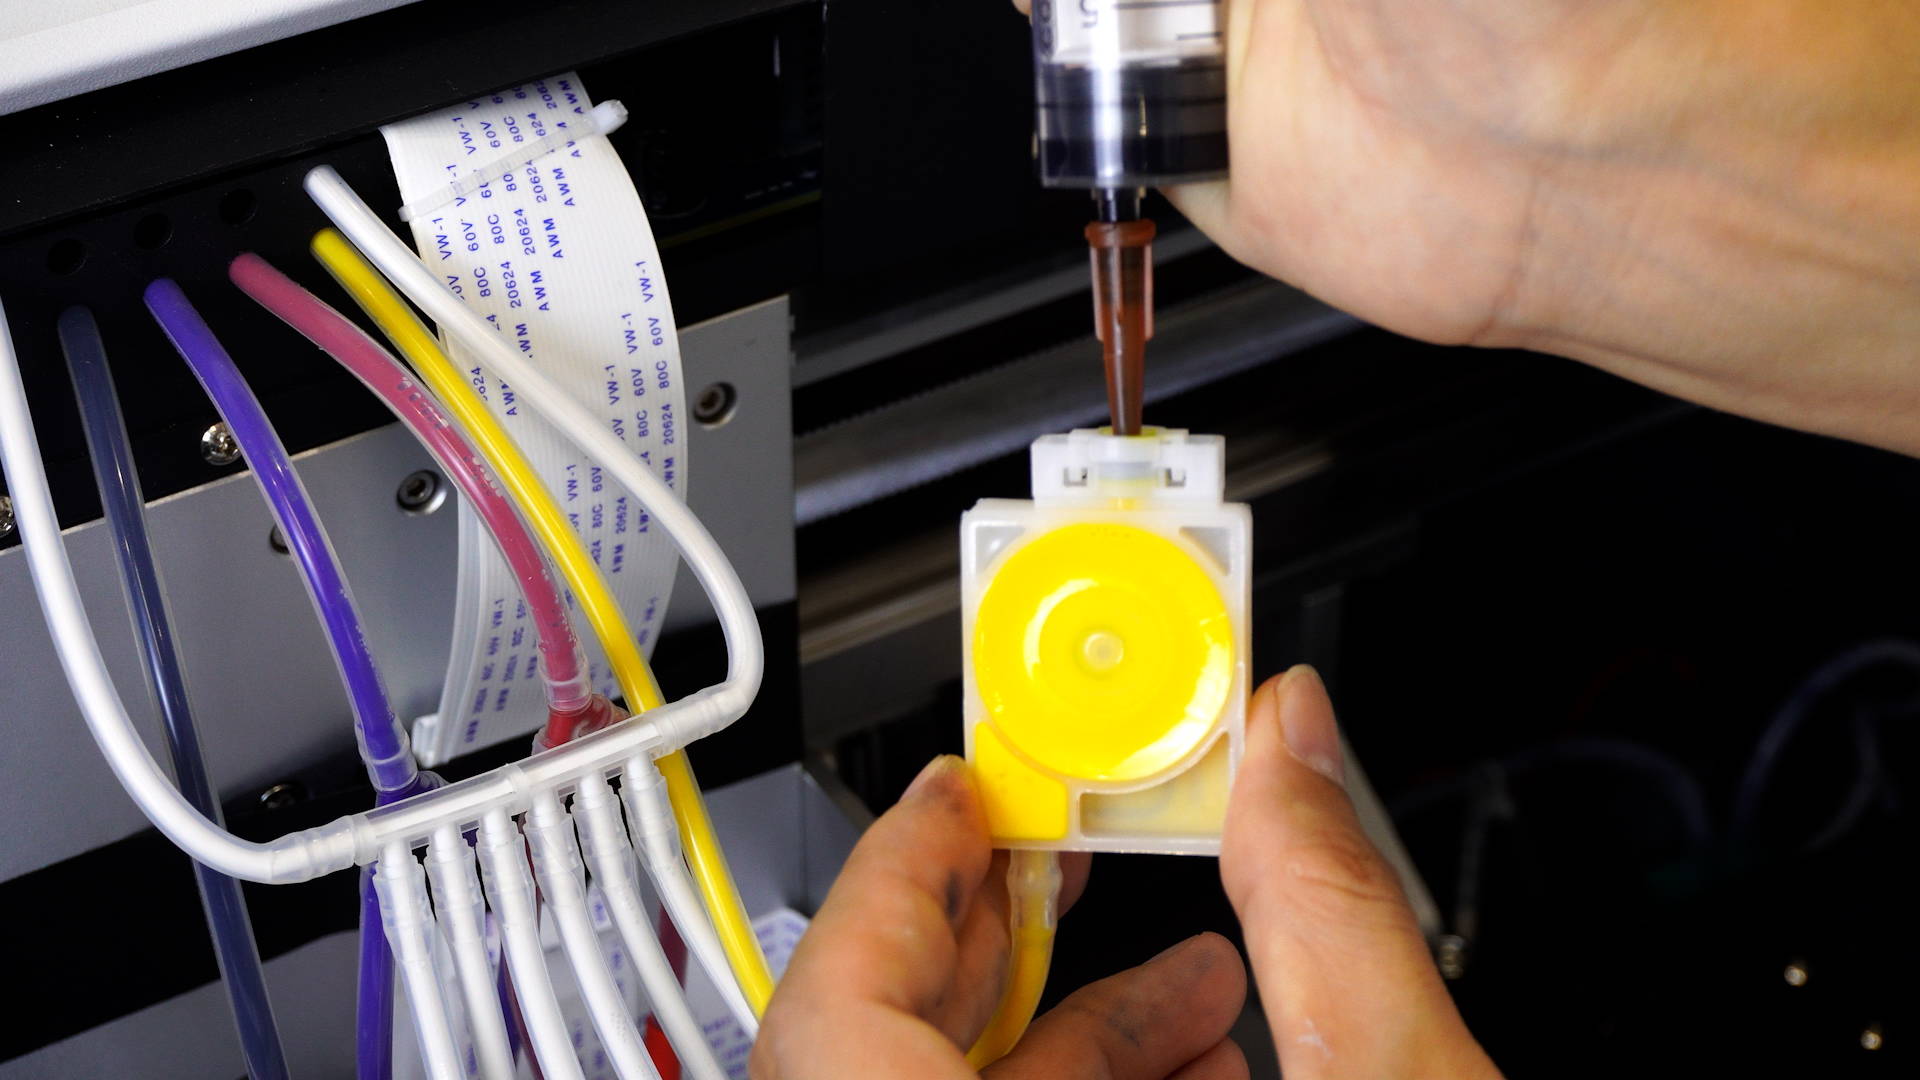
Take off only one cartridge at a time and turn it upward to extract 5 to 10 millimeters of ink until the cartridge is free of air. Remember to change the needle hub for each ink to avoid color mixing. Put the cartridge back in place.
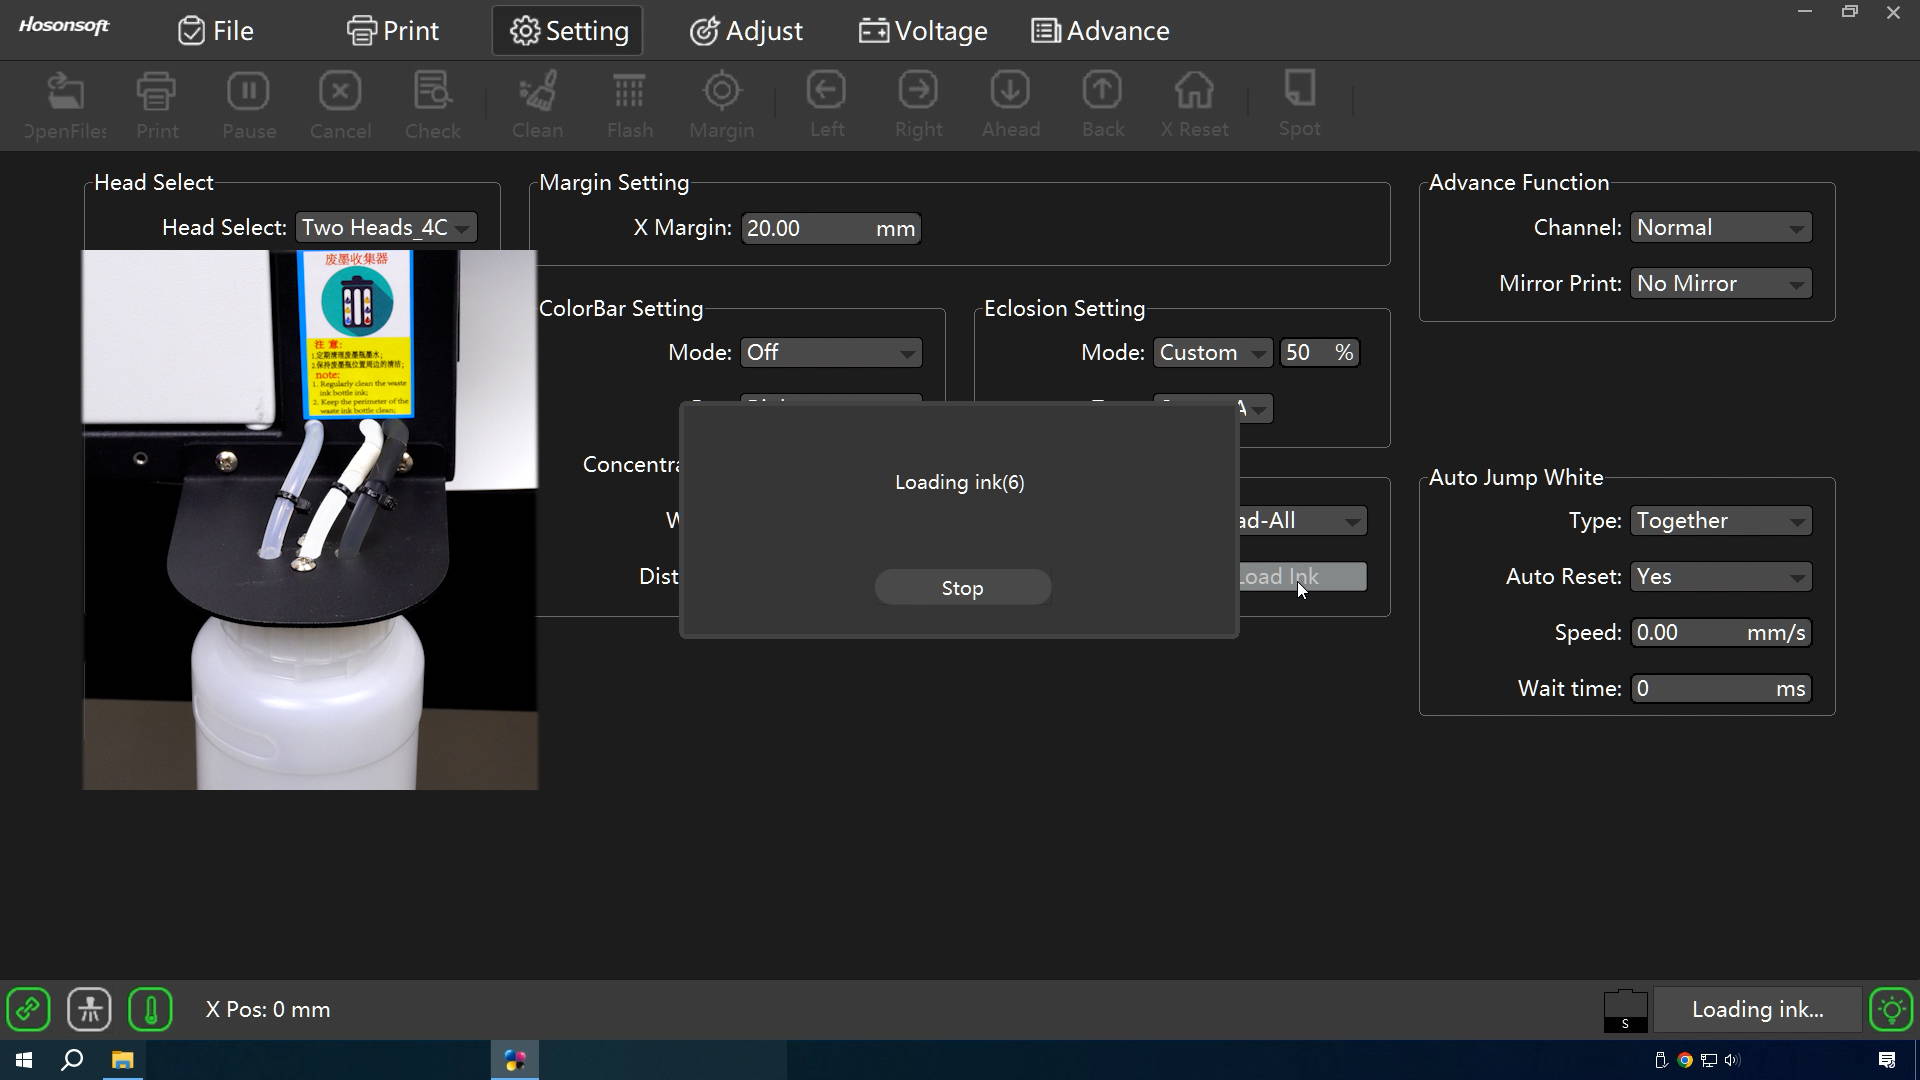
Open the print control software, click “Load Ink” in settings. Pay attention to the waste ink bottle, when the inks come out of the waste ink port and run into the bottle, stop the ink loading task immediately, otherwise the ink loading task will keep running and run out all the inks.
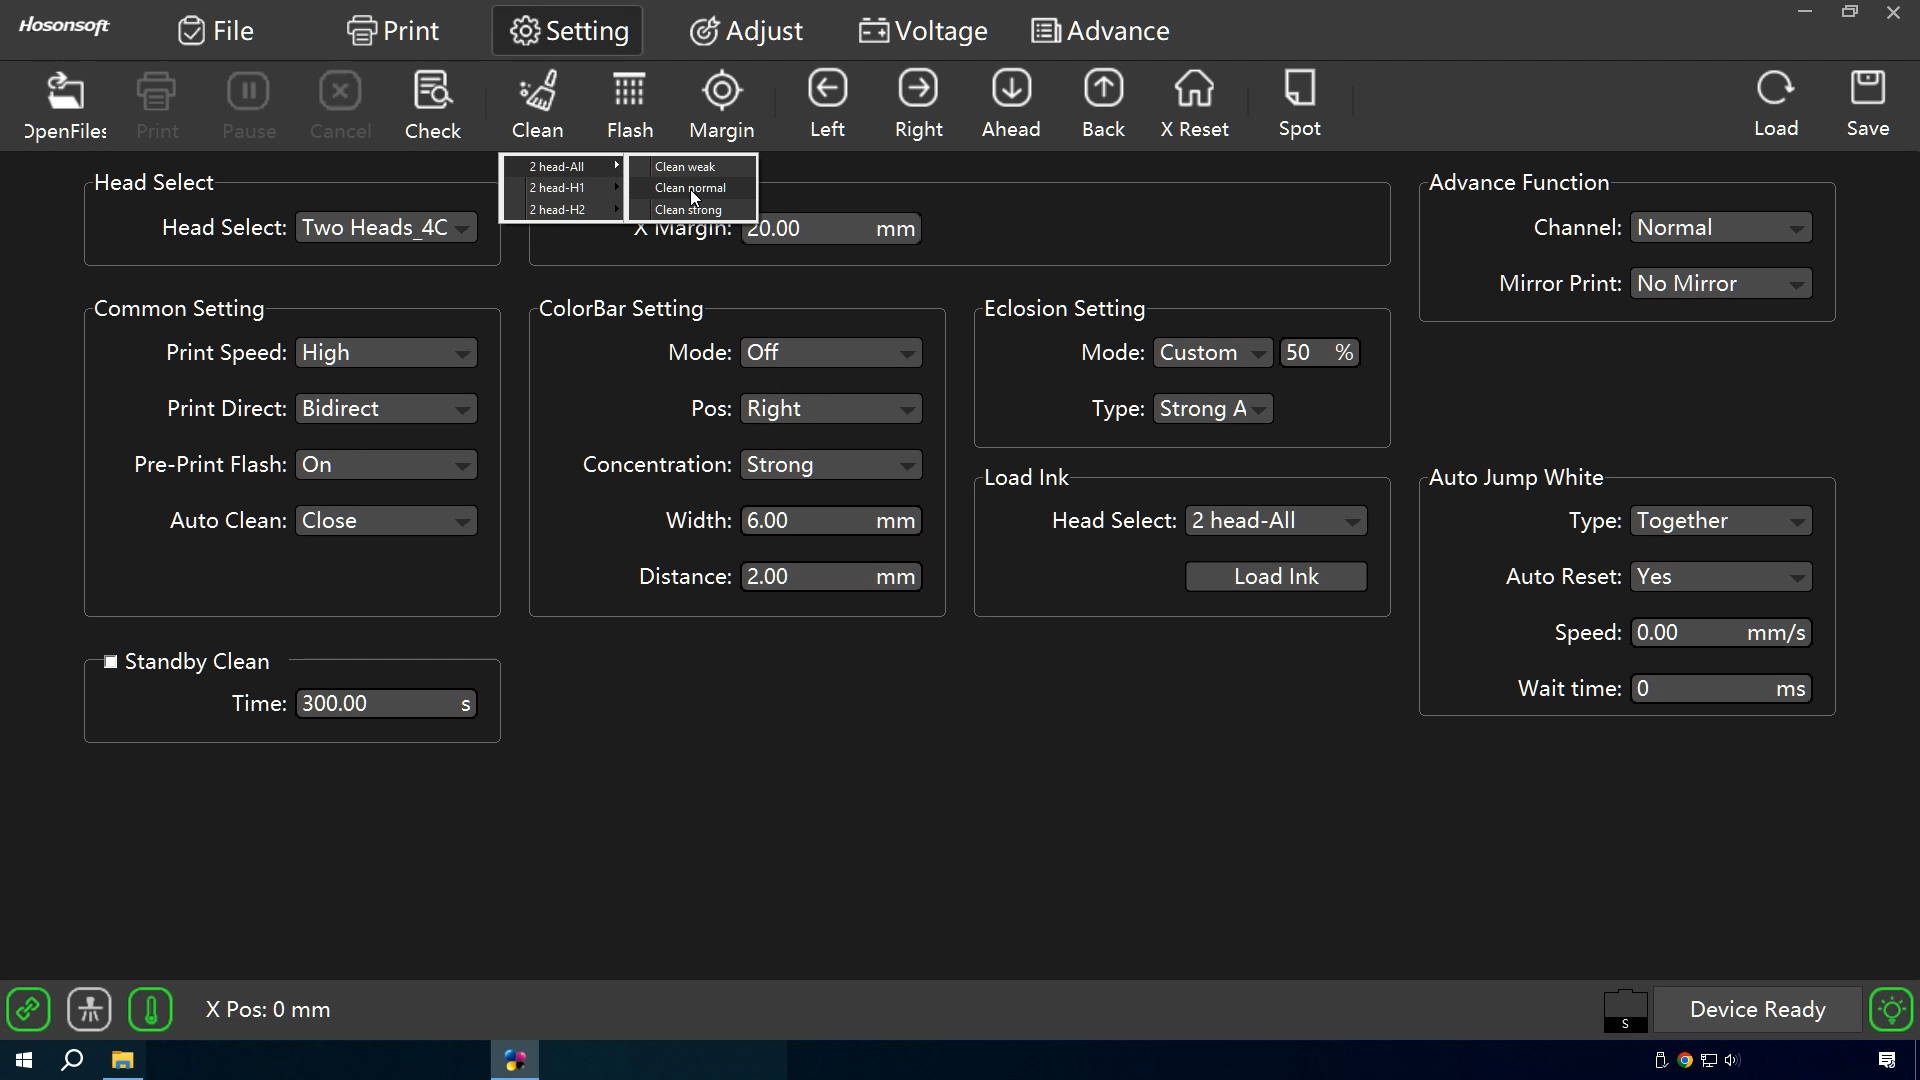
Click the “Clean” icon to clean all the two print-heads. The normal mode is enough for regular cleaning. The right lower corner shows the running process. It takes about one and a half minutes to finish the process.
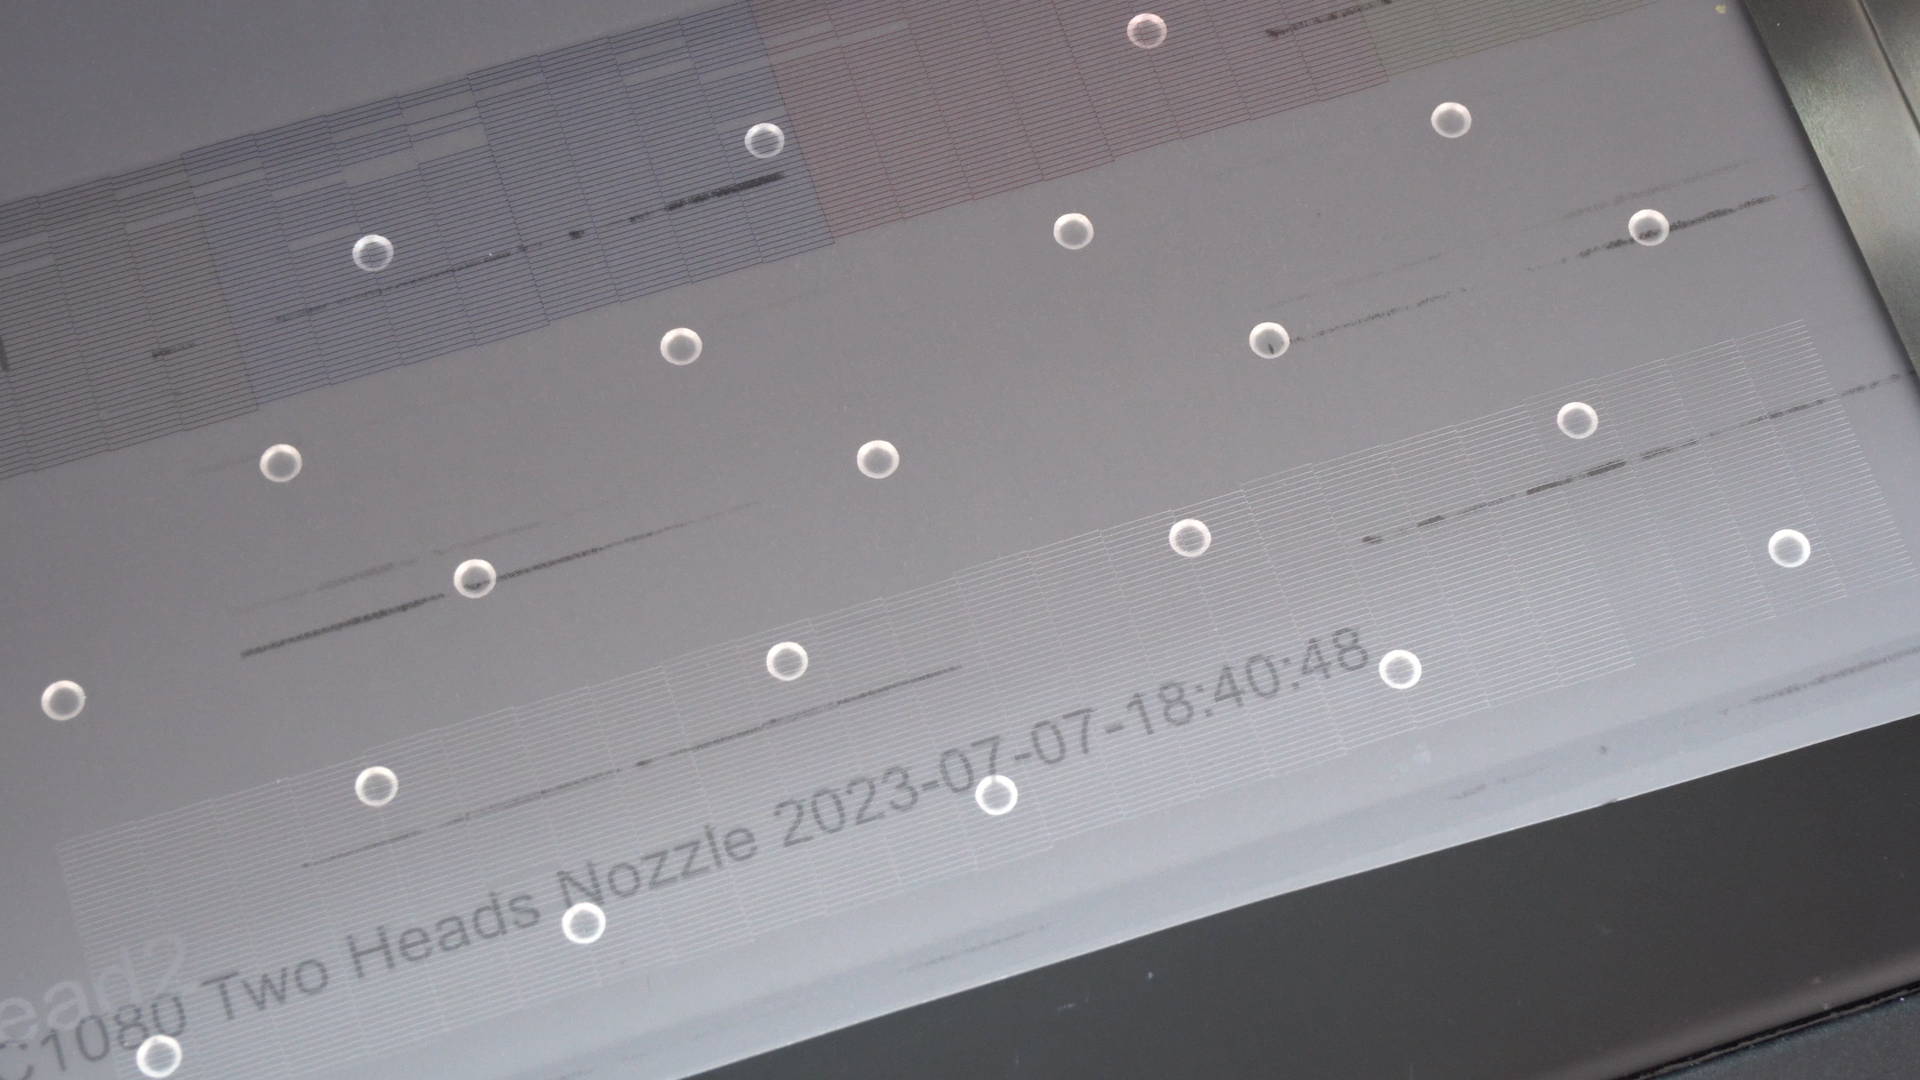
Click the “Check” icon the test the print-heads. The print initialization takes 20 seconds before the printing starts. Check out the print test page. If there are too many broken lines, clean the print-head again.
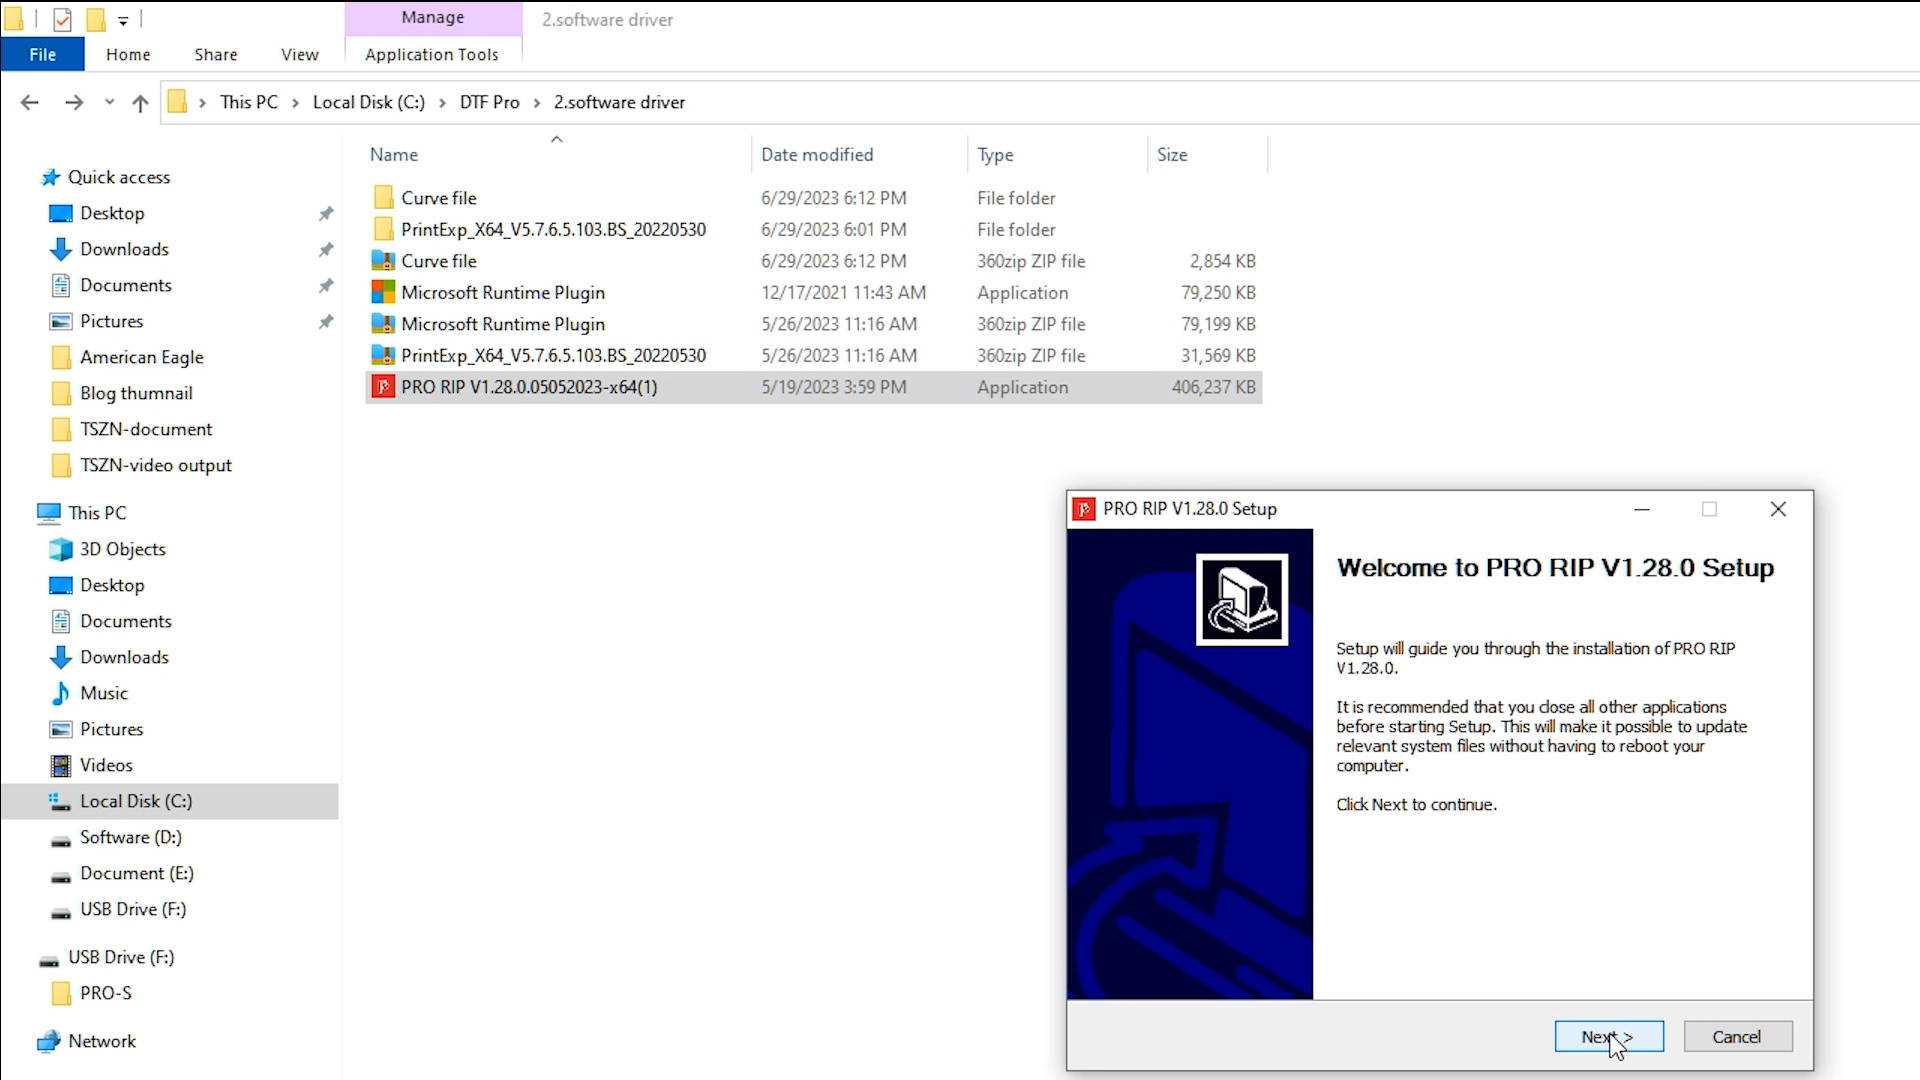
Open the software driver folder in the C drive to install RIP application and printer driver. The printer driver locates in the Curve file. Extract it to the current folder. Double click the RIP EXE file, you can change the install folder location. Follow the instructions to install the software. The RIP application is installed successfully.
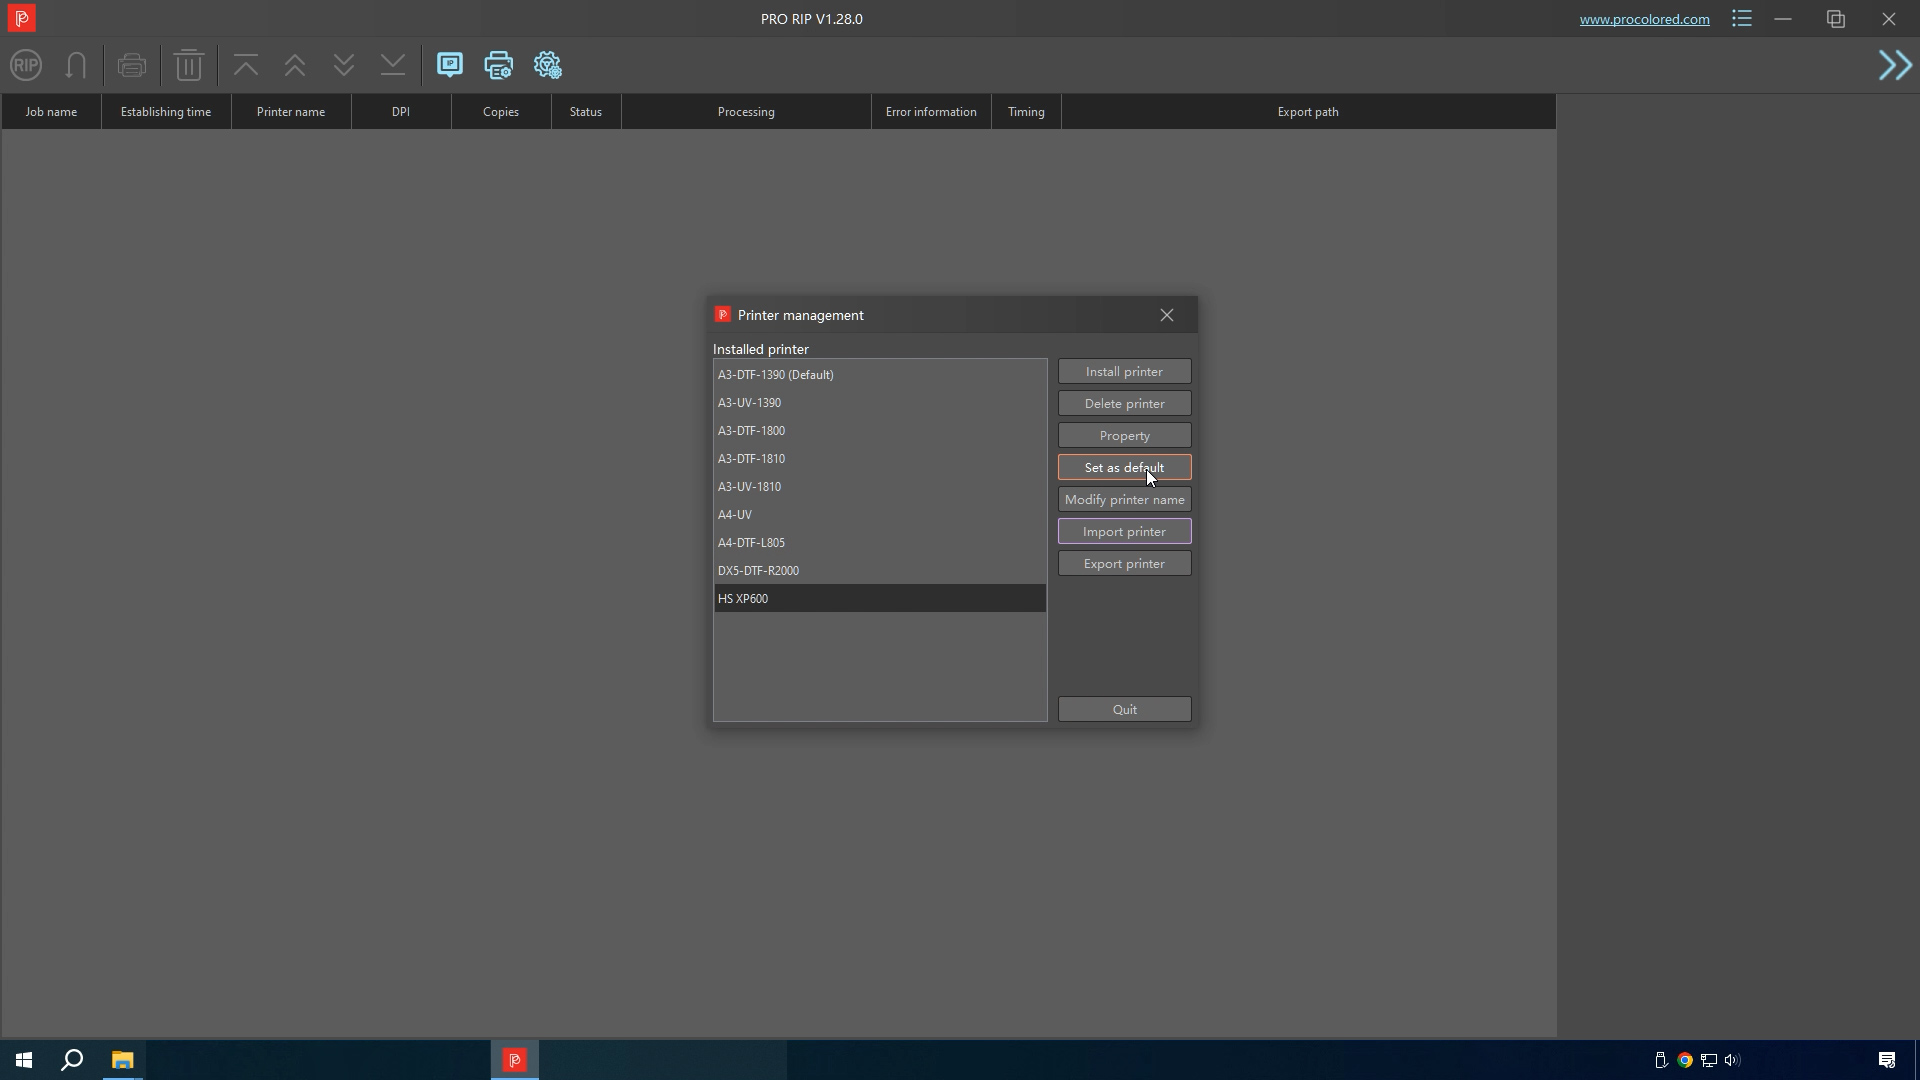
At the right corner of the software interface, you can select the language options and measurement units. Set up the size of the canvas according to the size of film. At the printer settings interface, import the printer driver from folder “Curve file”. Set the printer as default. The basic settings of DTF Pro printer are finished, now you can start printing some images. In daily printing, you’d better close up the printer front cover in case the moving print-head assembly hurt somebody’s hand at the some corners.

